Free UK Delivery
Bespoke Projects
5 Star Rating
Free UK Delivery - orders over £200
Bespoke Projects
Shop By Category
Services & Support
Enhance your space with the beauty of artificial plants effortlessly. Whether you’re a seasoned decorator or a newcomer to the world of faux greenery, our step-by-step guide will walk you through the simple process of planting an artificial plant into a pot, ensuring a lifelike and vibrant display that lasts.


Step 1 – Preparing the planter
Initially weigh down the planter by filling it to within an couple of inches from the top with soil, bricks, rubble etc.
This helps to give the pot some weight and help prevent it from blowing over in high winds.
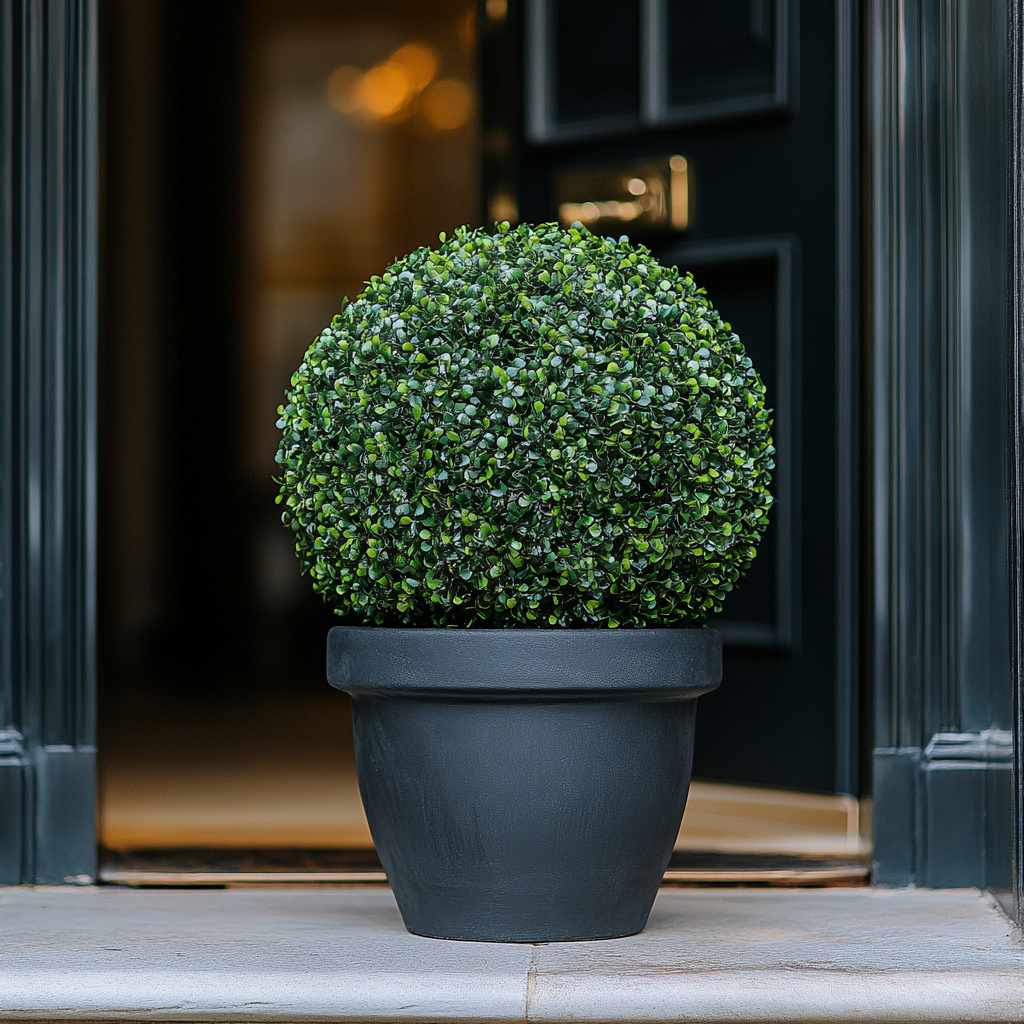
Step 2 – Preparing the Topiary Ball
Stem
If your ball has a stem please create a hole for the stem to sit in – then move to step 3.
No Stem
If your ball has no stem remove a small amount of foliage from the bottom of the ball.
Stem 3 – Attaching your Ball
Then spray expanding foam on top of your substrate used to weigh your planter down, you only need to use this in the top section of your planter that comes into contact with the topiary ball.
If you then sit your ball on top, the foam expands up inside the mesh framework of the ball and sets solidly.
This method will ensure your topiary is firmly secure in your planter.
Step 4 – Finishing Touches
You can then use a decorative topping to cover the foam, this could be slate, bark chippings, pea gravel etc. or our Pre-Glued stone.
The foam used is the same foam that is used for wall cavity insulation so you can either buy locally or we sell this on our website.

Be the first to see our new arrivals & the latest offers

We are passionate about all things greenery! With bespoke artificial solutions and a focus on design and customer service there is a reason we’re the UKs number one
Evergreen Trees & Shrubs Registered office Evergreen House, Outgang Lane, Pickering, YO18 7JA, United Kingdom, Registered in GB
Company Registration Number 04529657 VAT no. 804718043