
Free UK Delivery over £75
Bespoke Projects
5 Star Rating
Free UK Delivery - orders over £75
Bespoke Projects
Shop By Category
Services & Support
In your fixing kit you will receive:
1 x can of foam
1 x bag of pre-glued stones
1 x Bag of Polystyrene
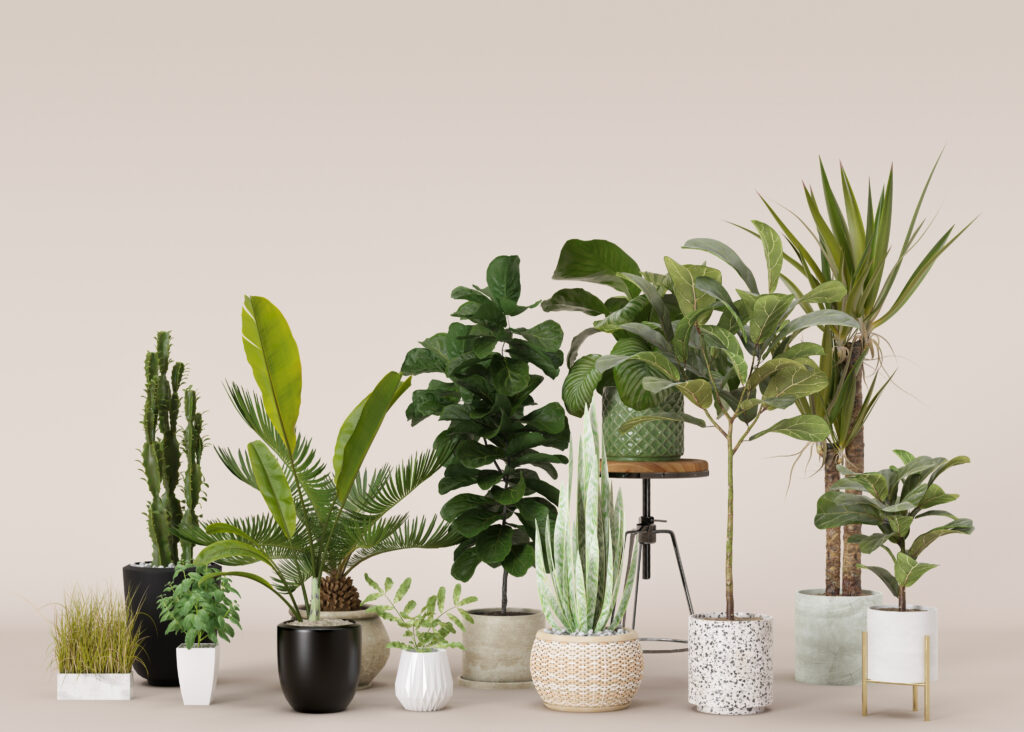
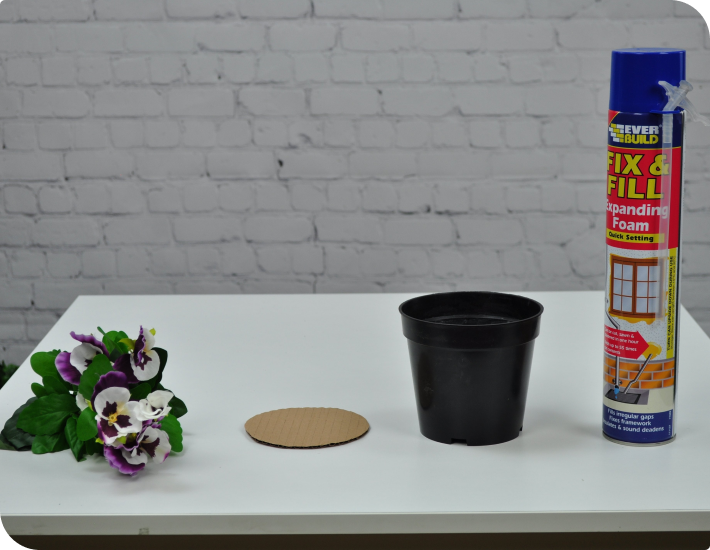
Place your plant/tree still in its starter pot into your chosen decorative planter
– Place stones, mud, or any bulky item (for weight to make stable) into the bottom of the pot to raise the starter pot close up to the rim or the polystyrene chips provided.
– Wedge the gaps around the edge of the transporter pot so this is now stable.
– Use the foam to make secure the transporter pot in place and secure the materials used to the pot (the can is big enough for two planters so you don’t need it all) and allow to dry
– Create a smooth surface, trimming any foam flat and then add your pre-glued stones (if your plant/tree came with a cardboard pot template you can place this back on and add your pre- glued stones on top of this
– Allow to dry inside for 4-6 hours
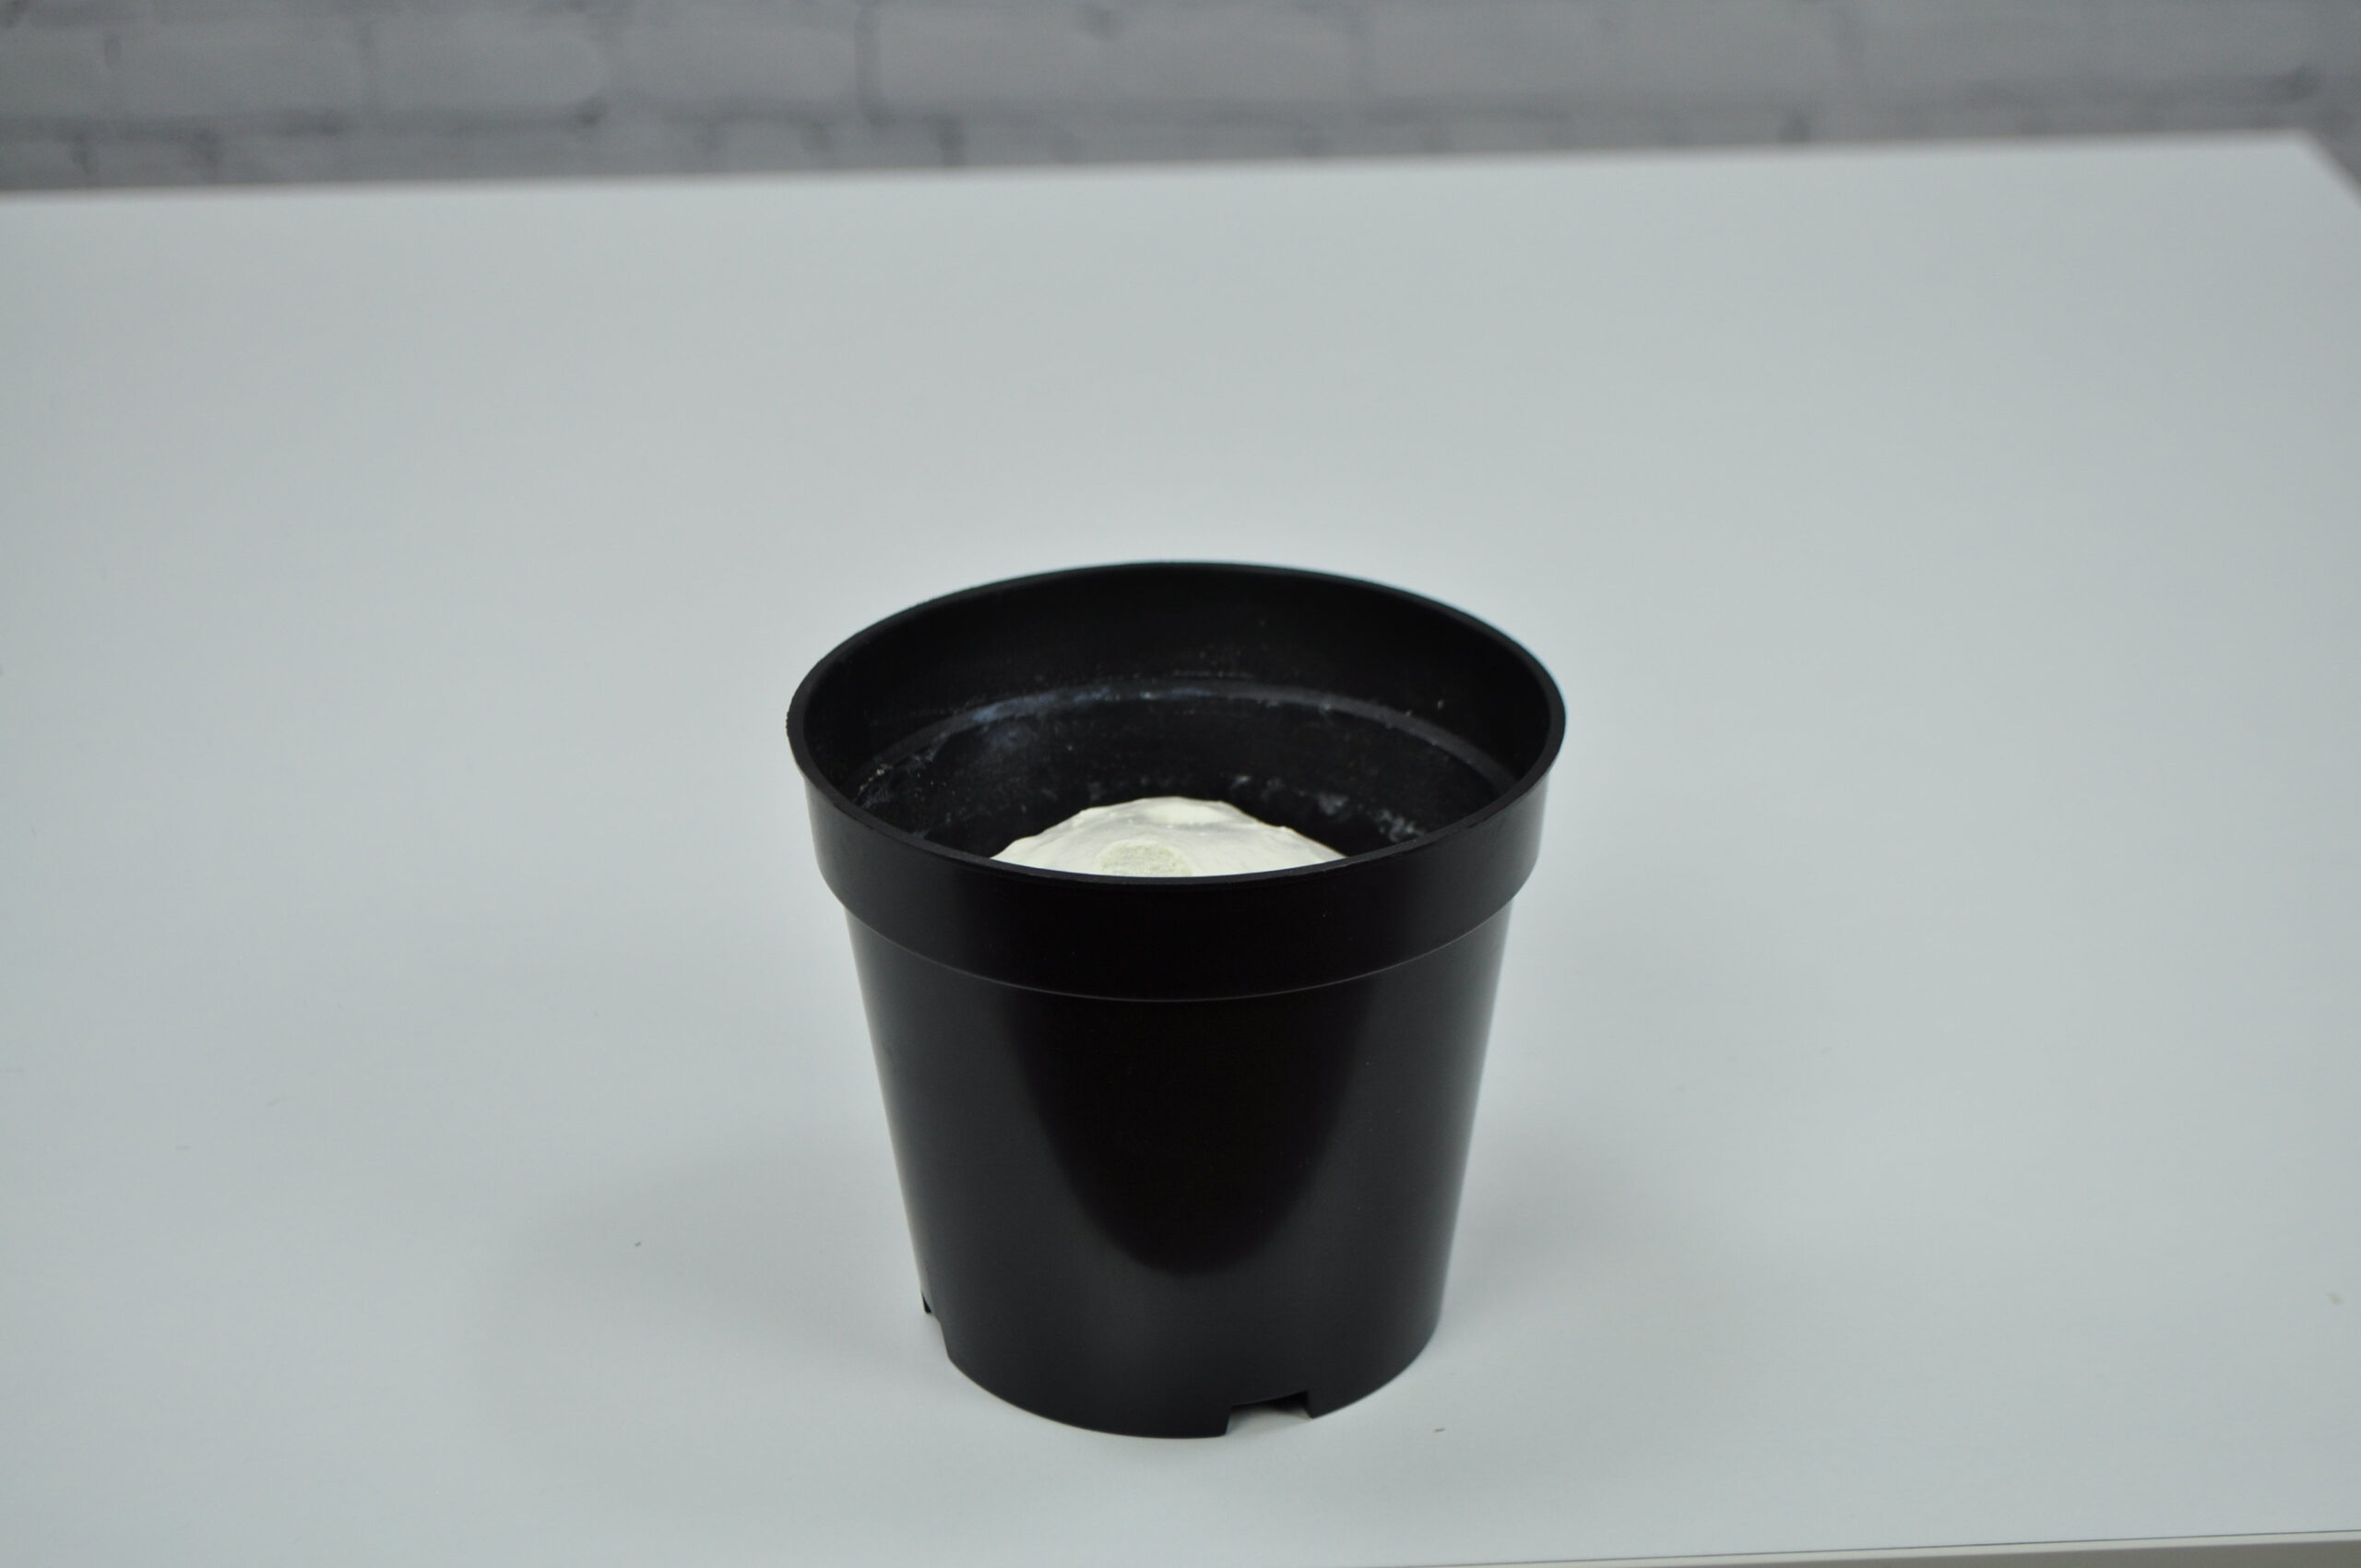
Fill pot with foam one-third full (allow for expansion) if securing a small plant. If potting something with a travel pot use the poly chips to fill some of the void and wedge around the edges. Add foam to stick it all together
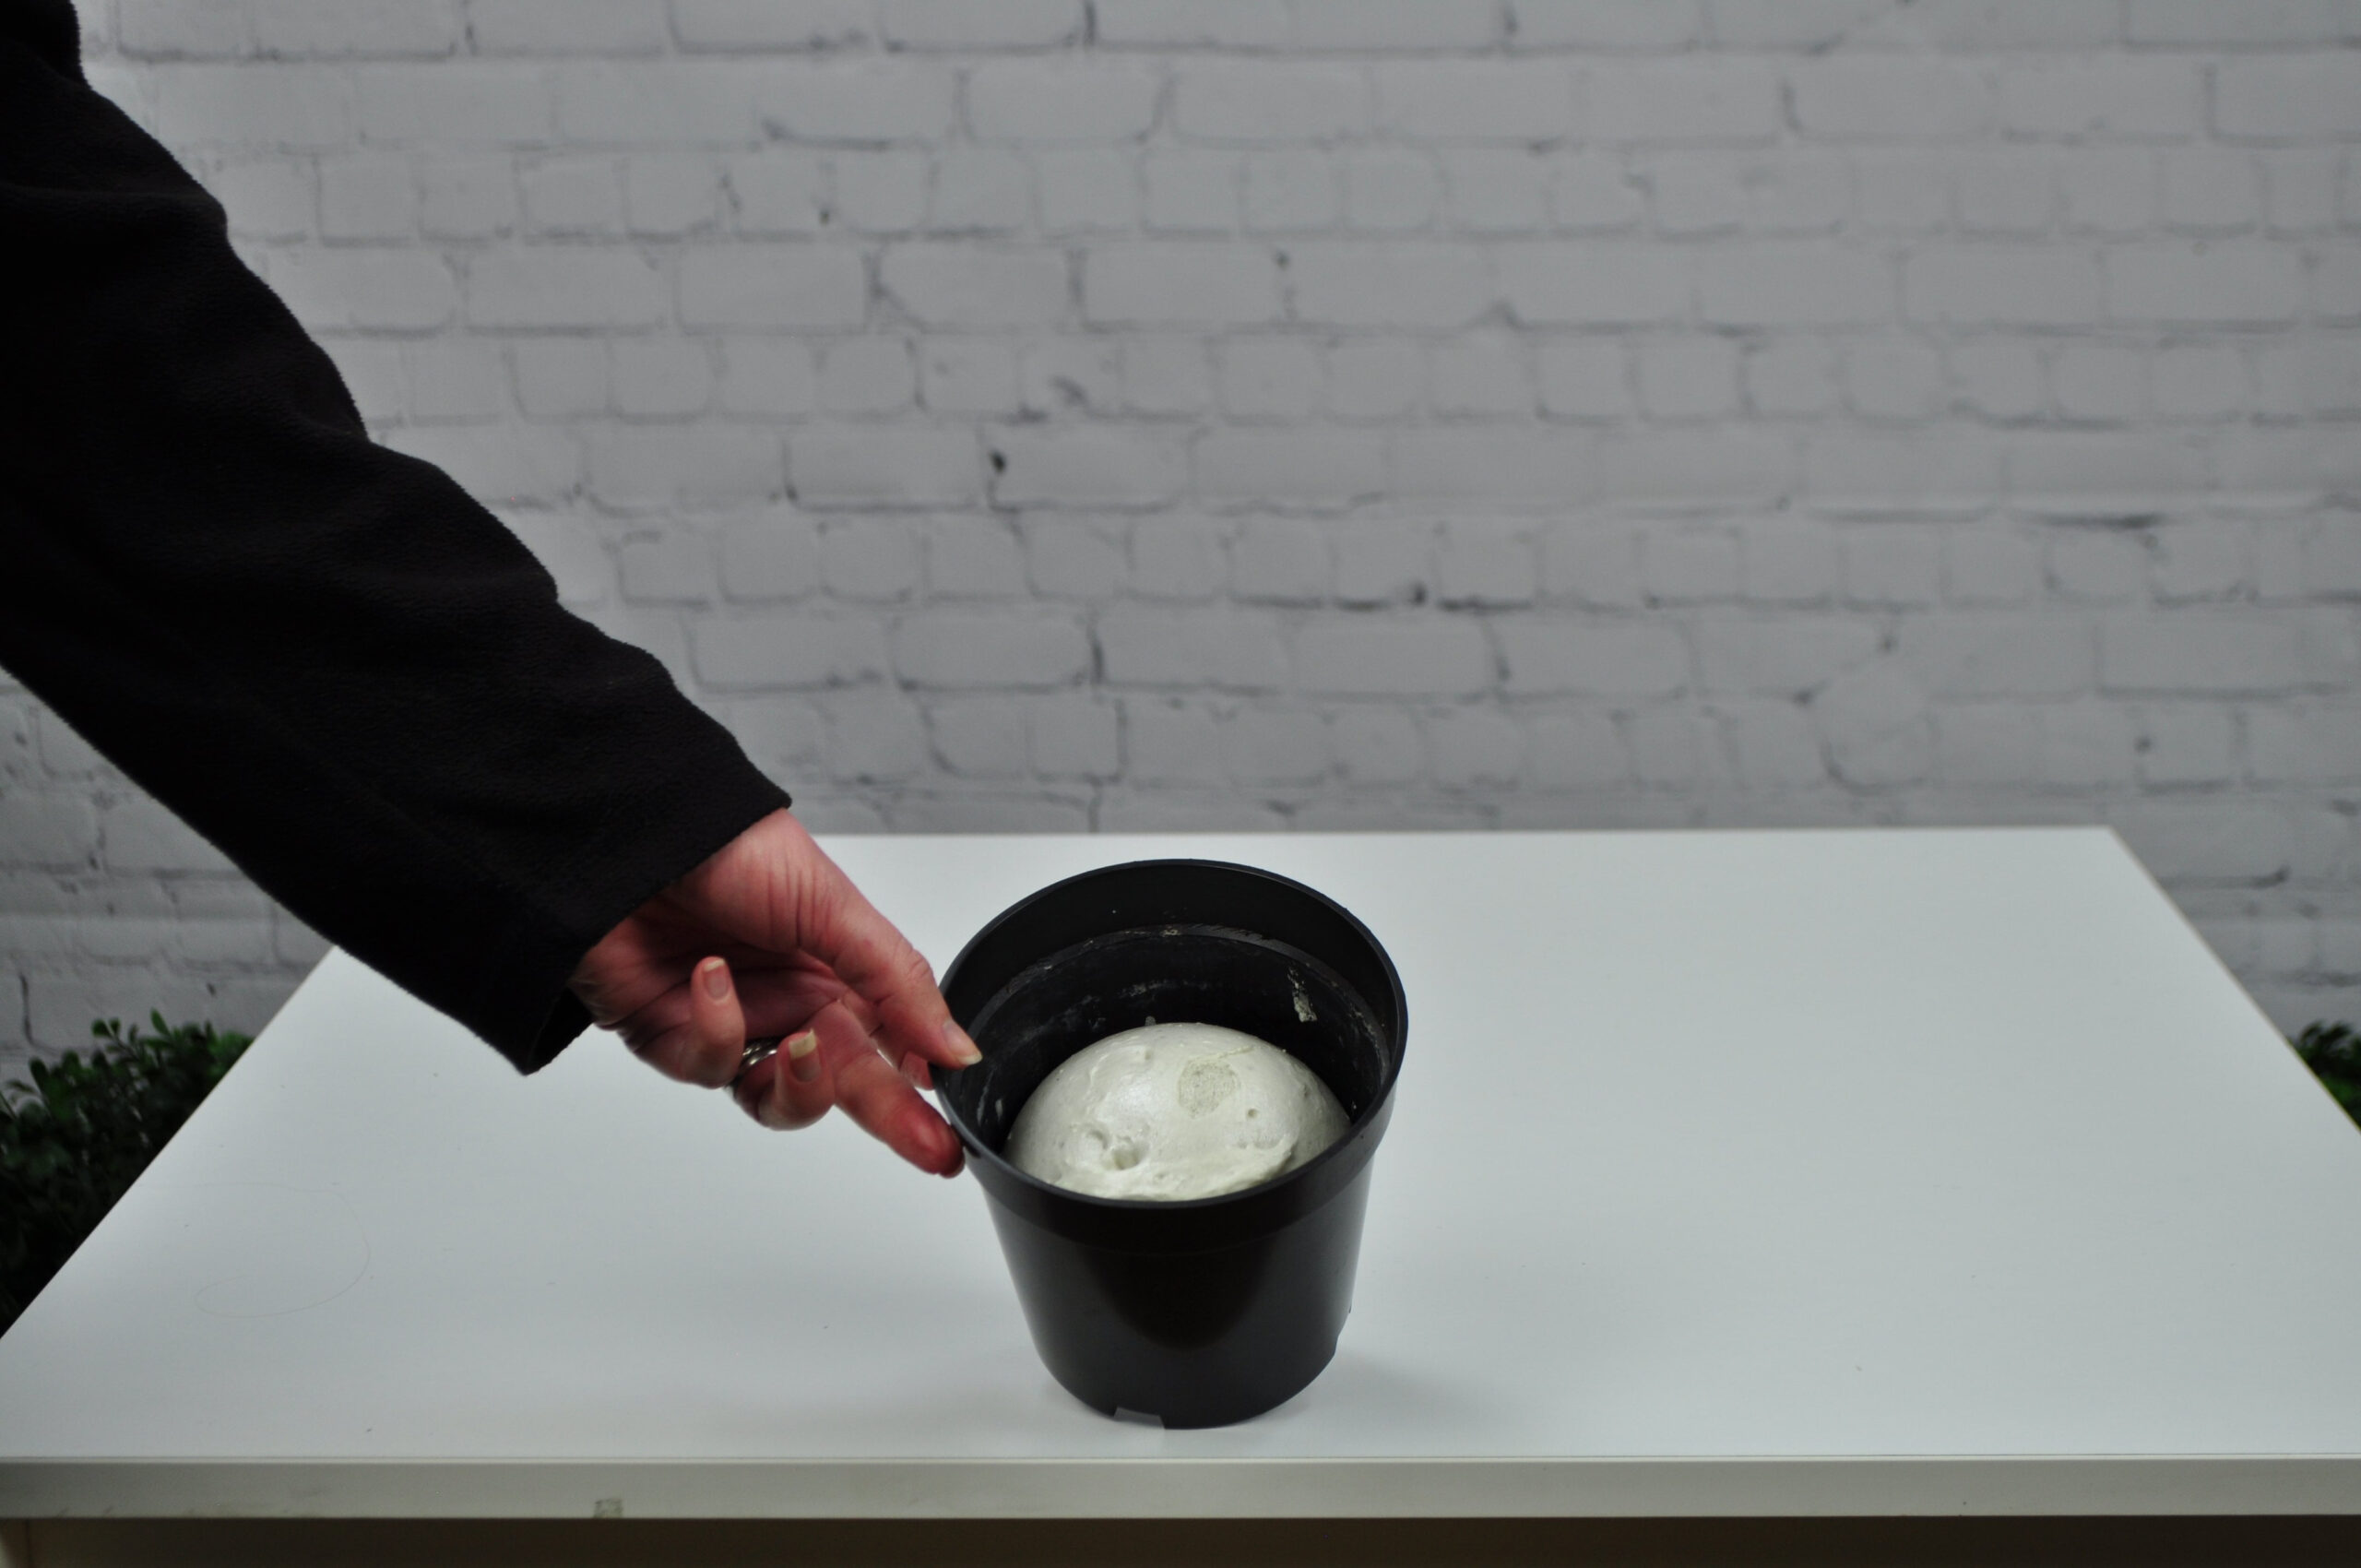
Allow to expand and fully dry
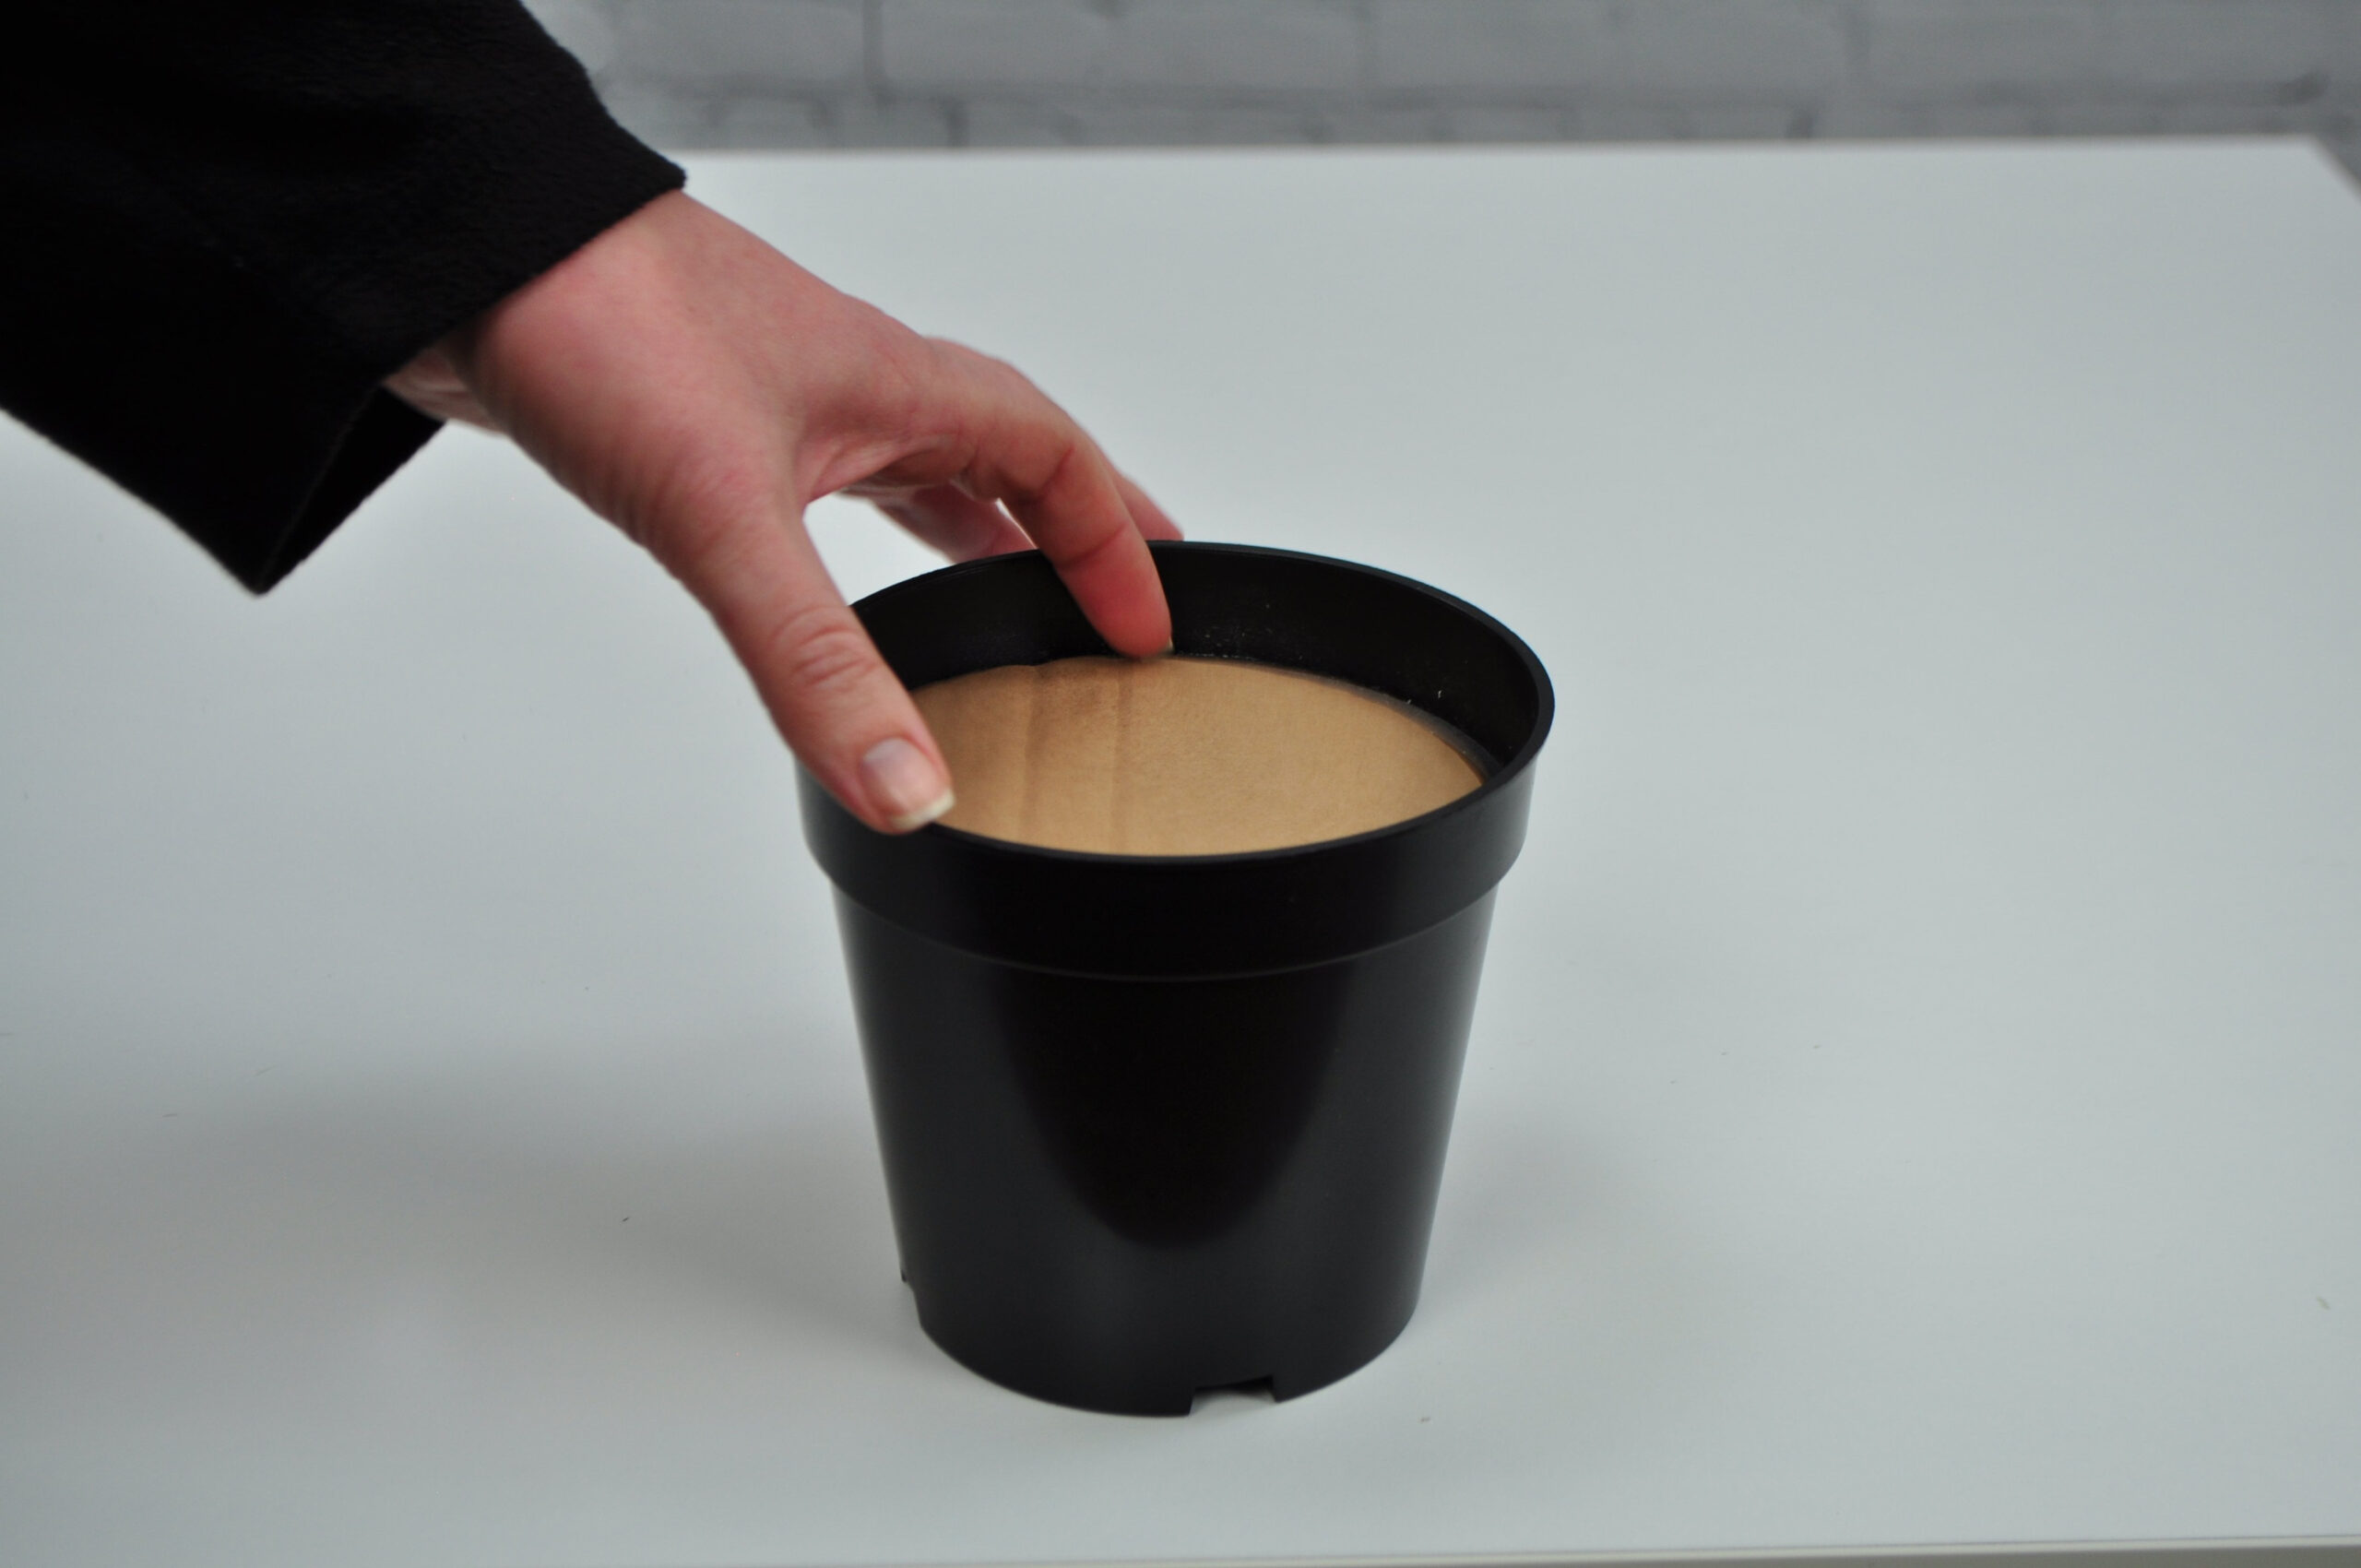
Create a cardboard topper
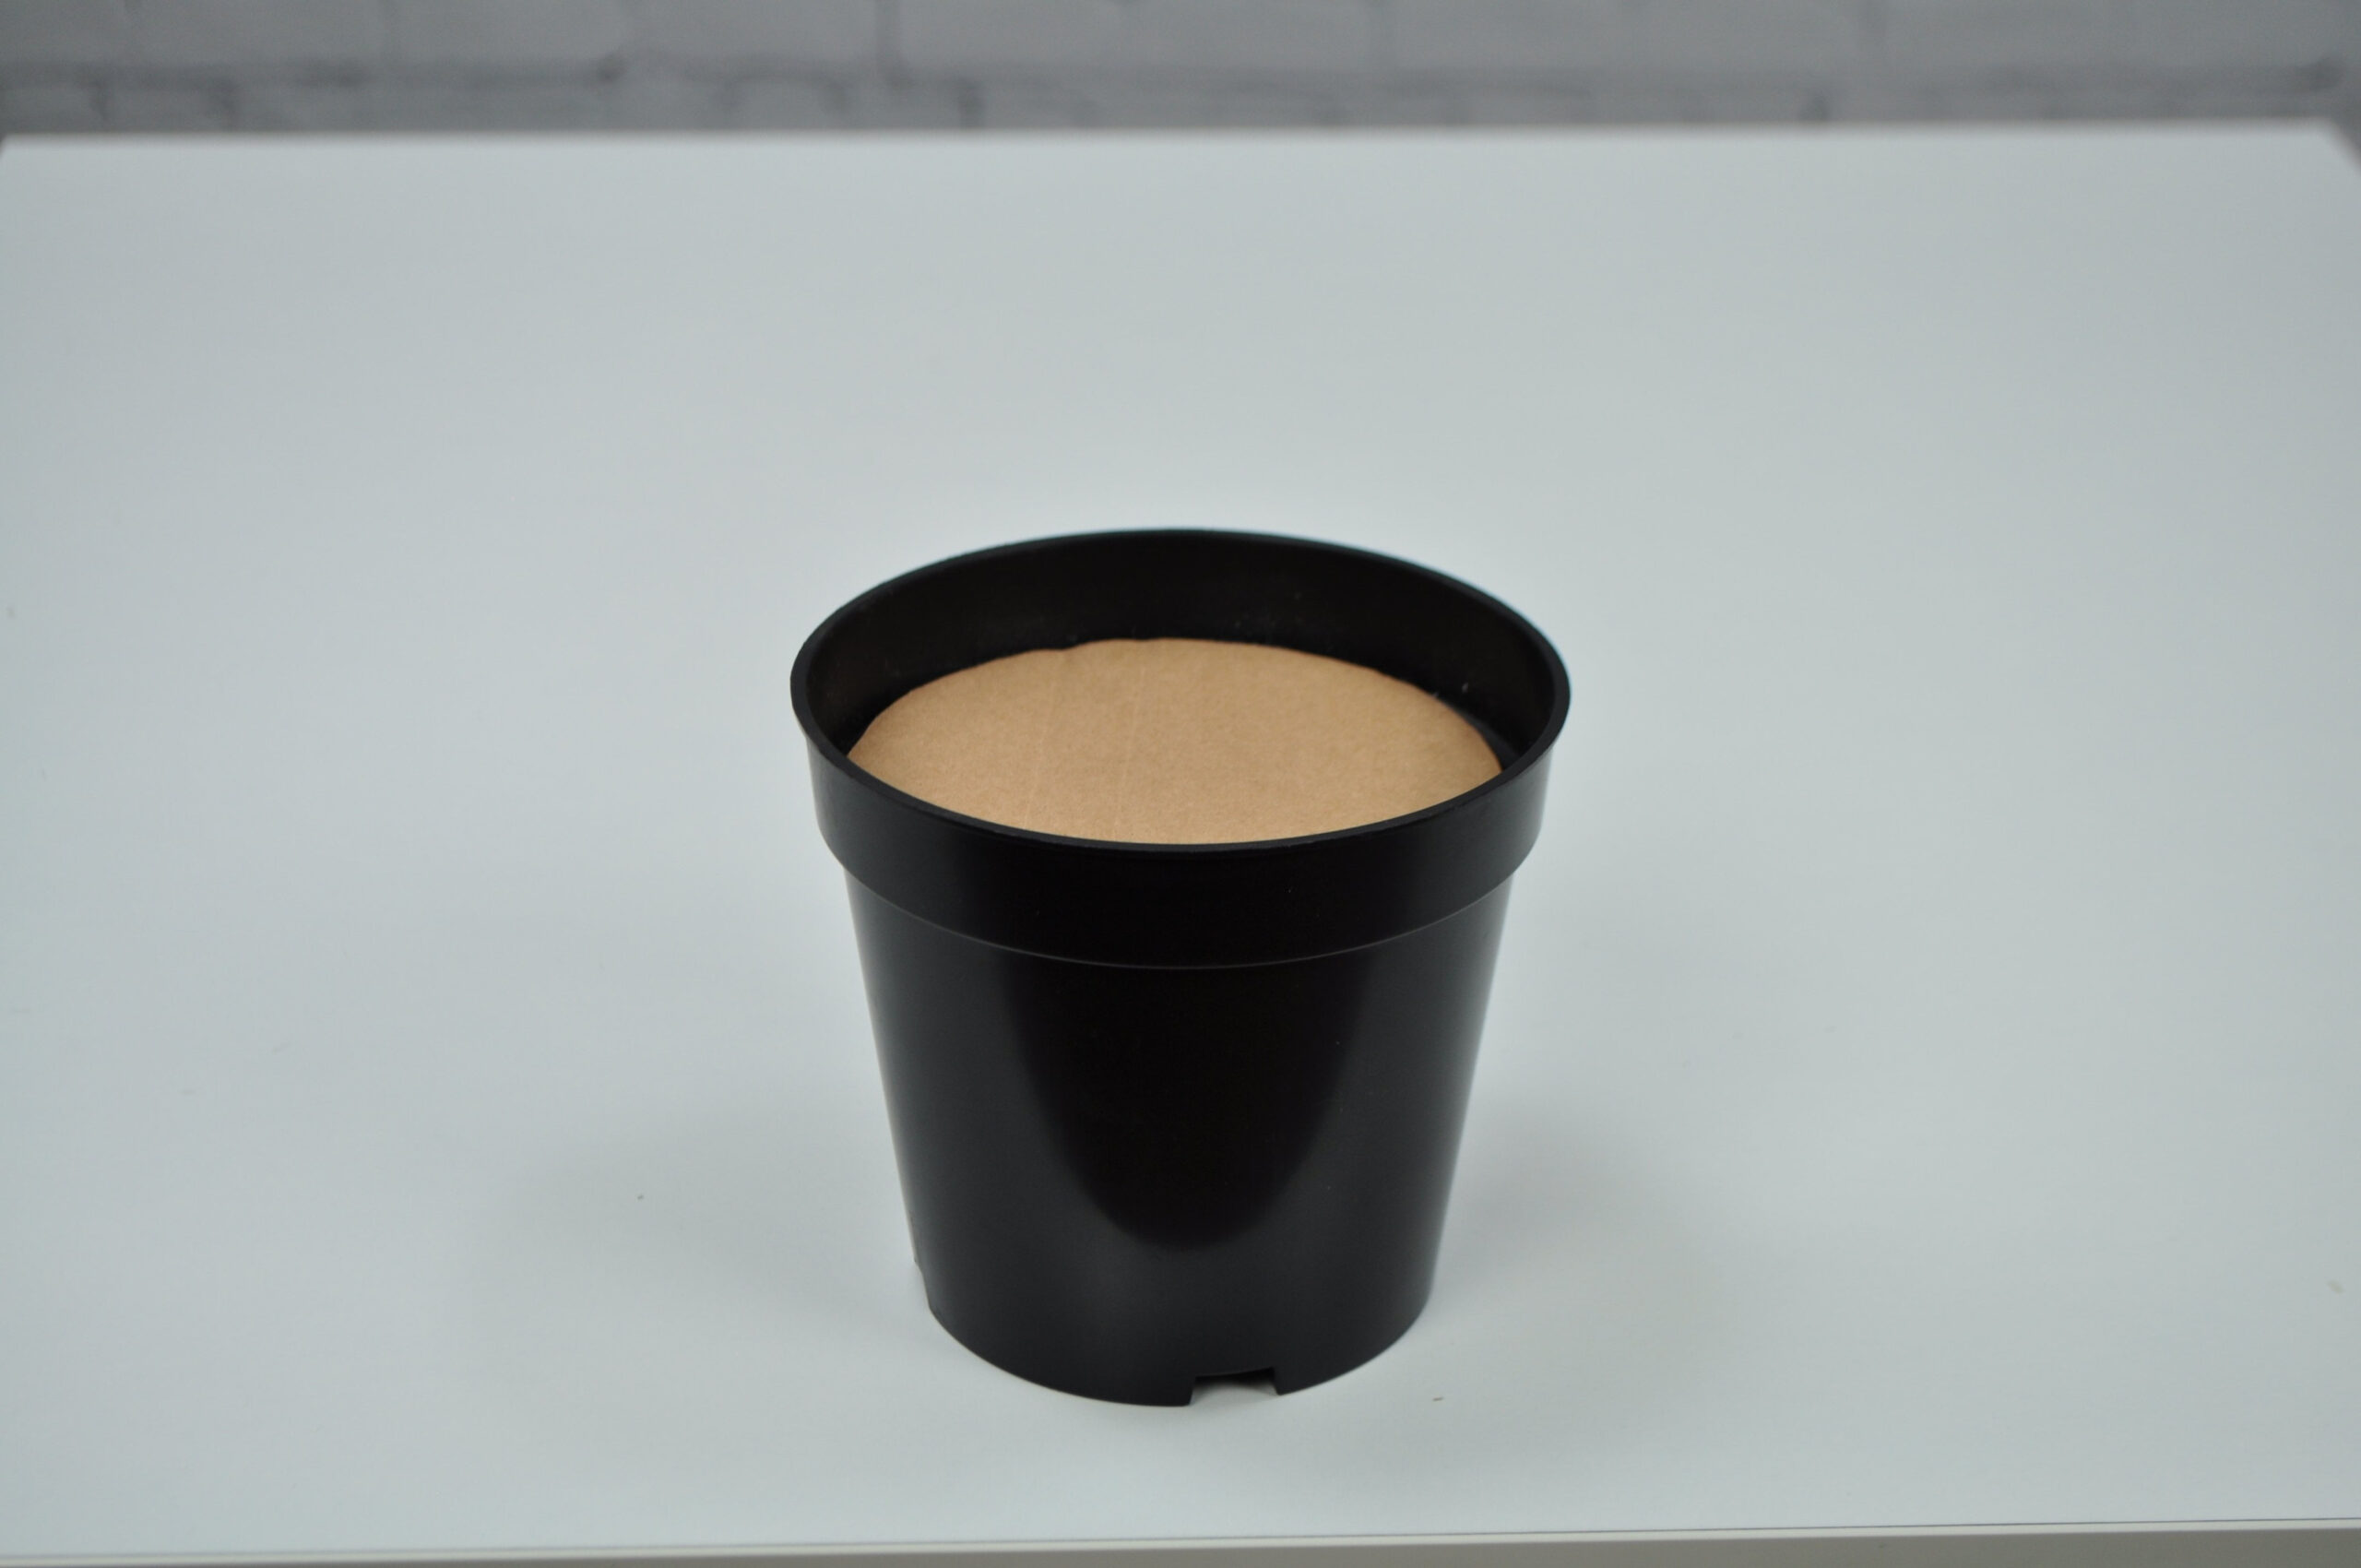
Create a level surface with the topper - trimming any foam necessary
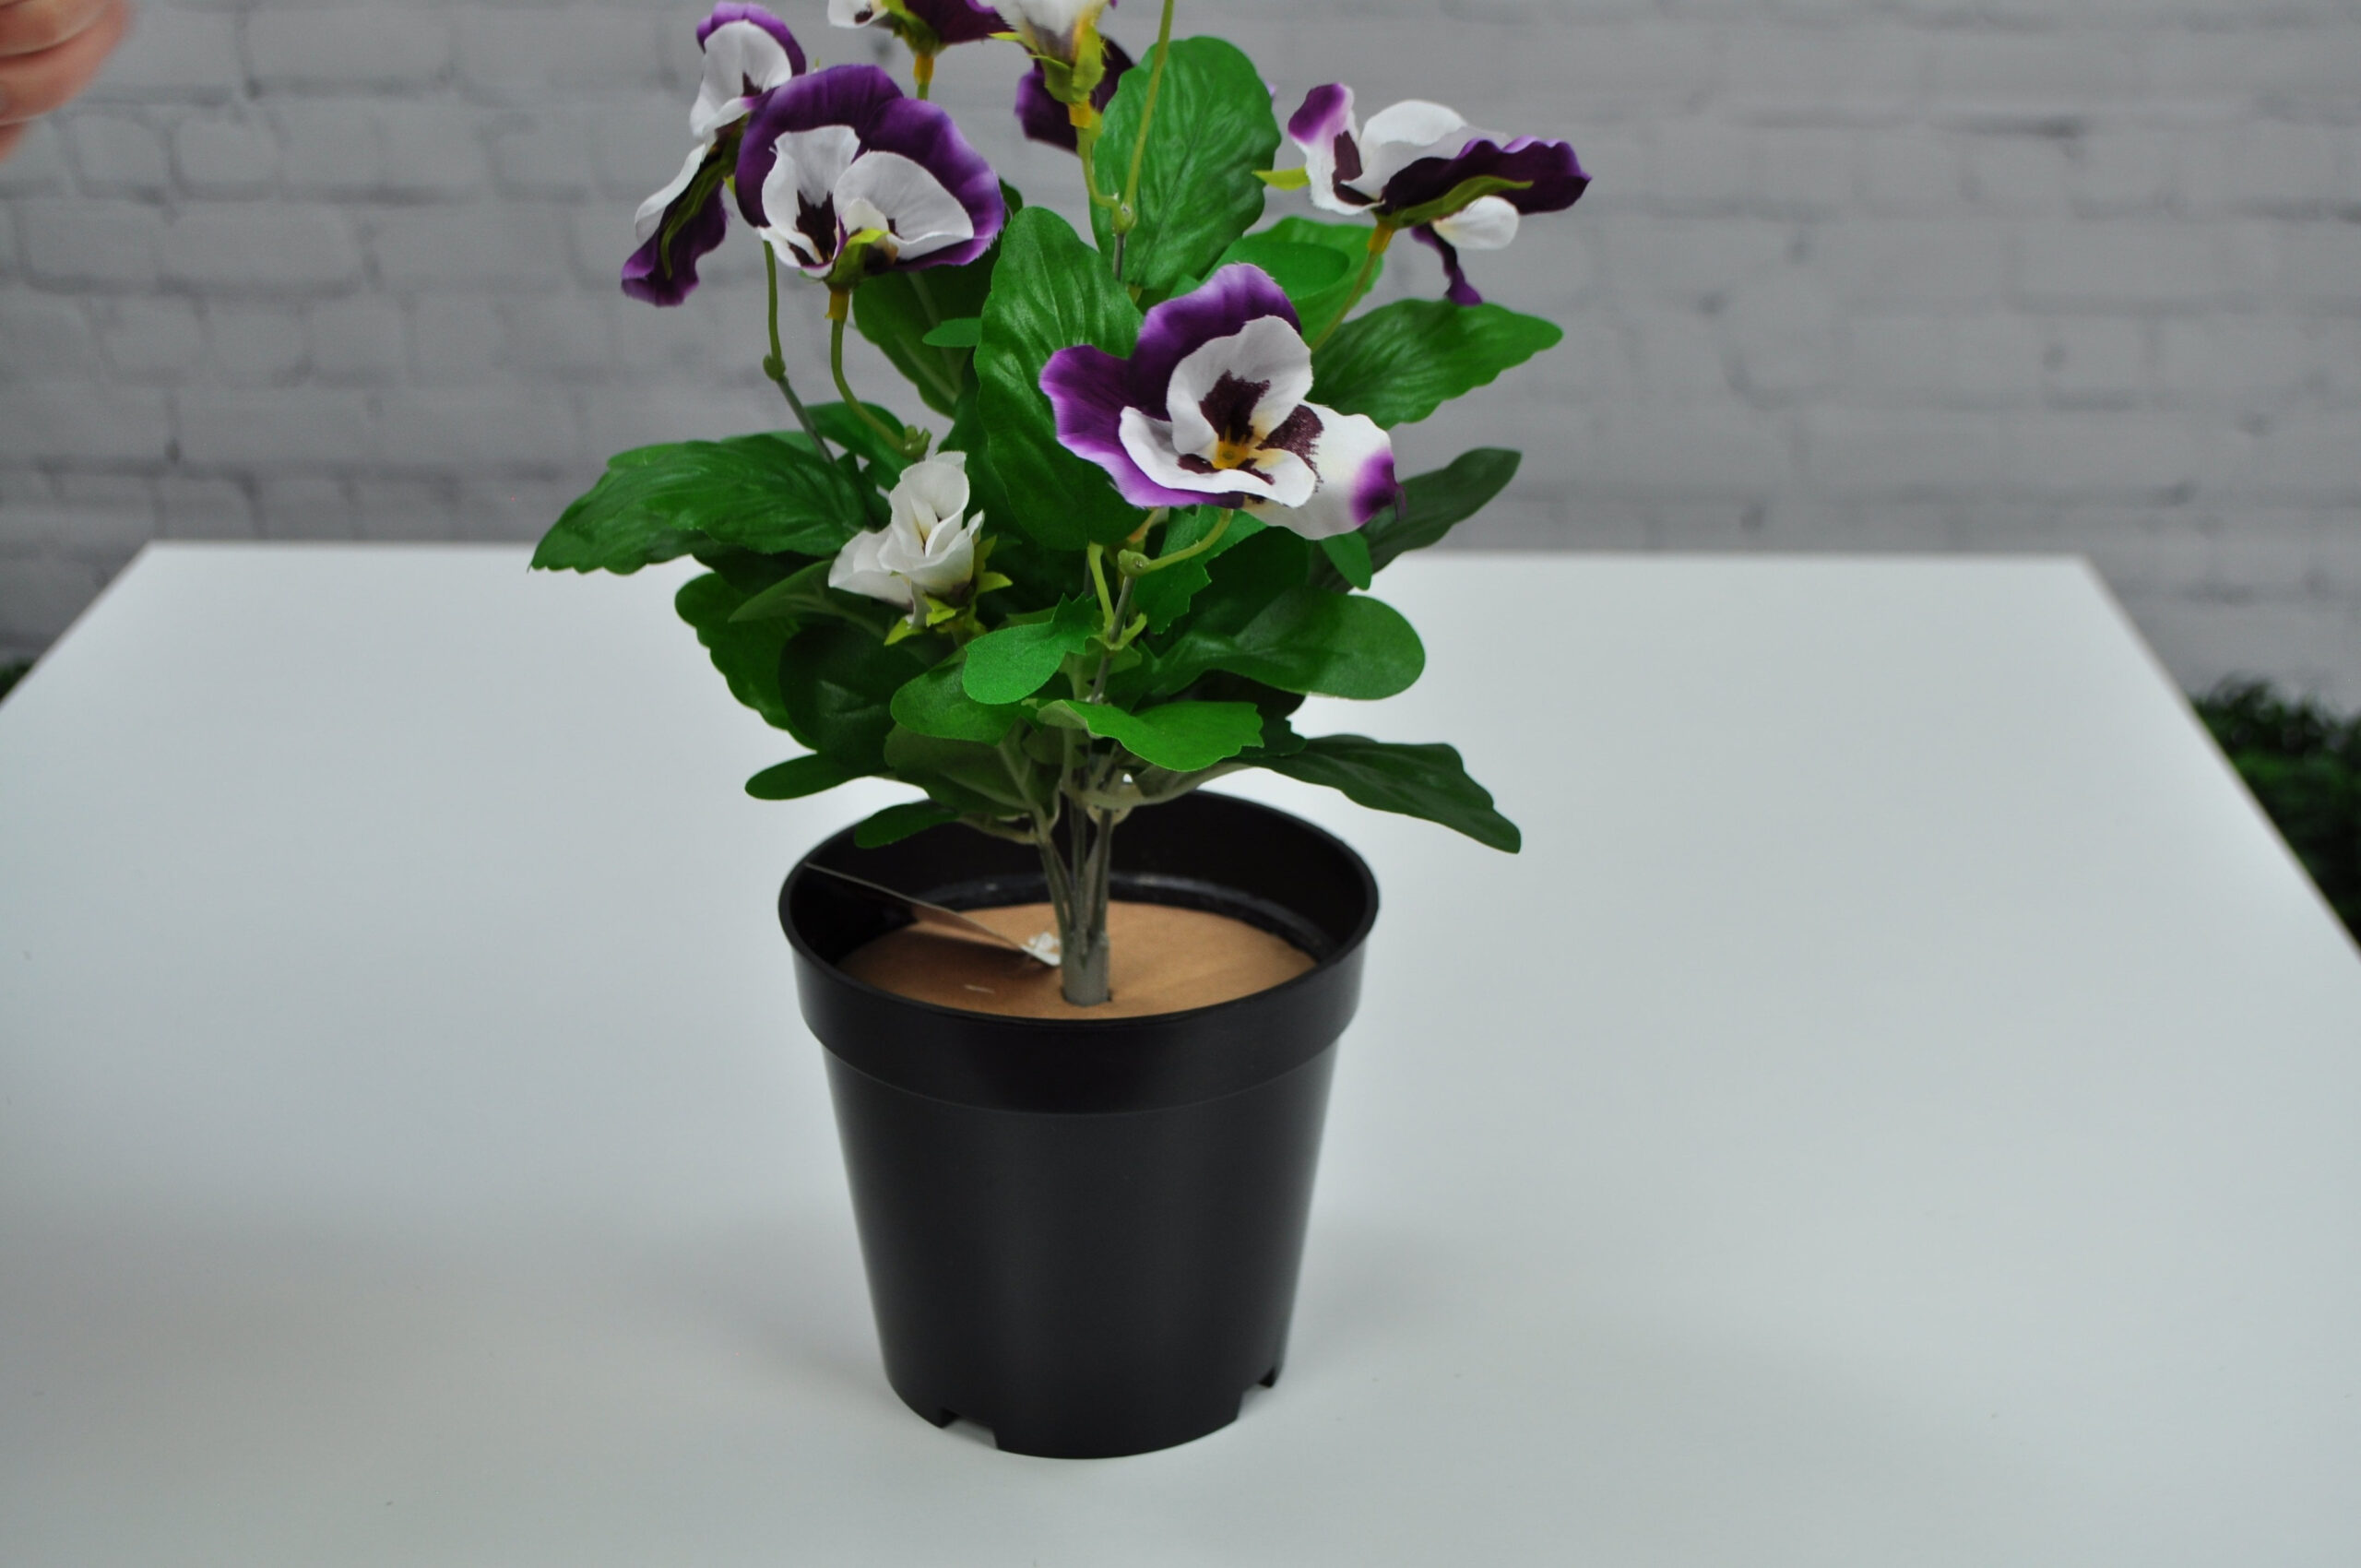
Insert the stem of plant into the topper and down into the foam
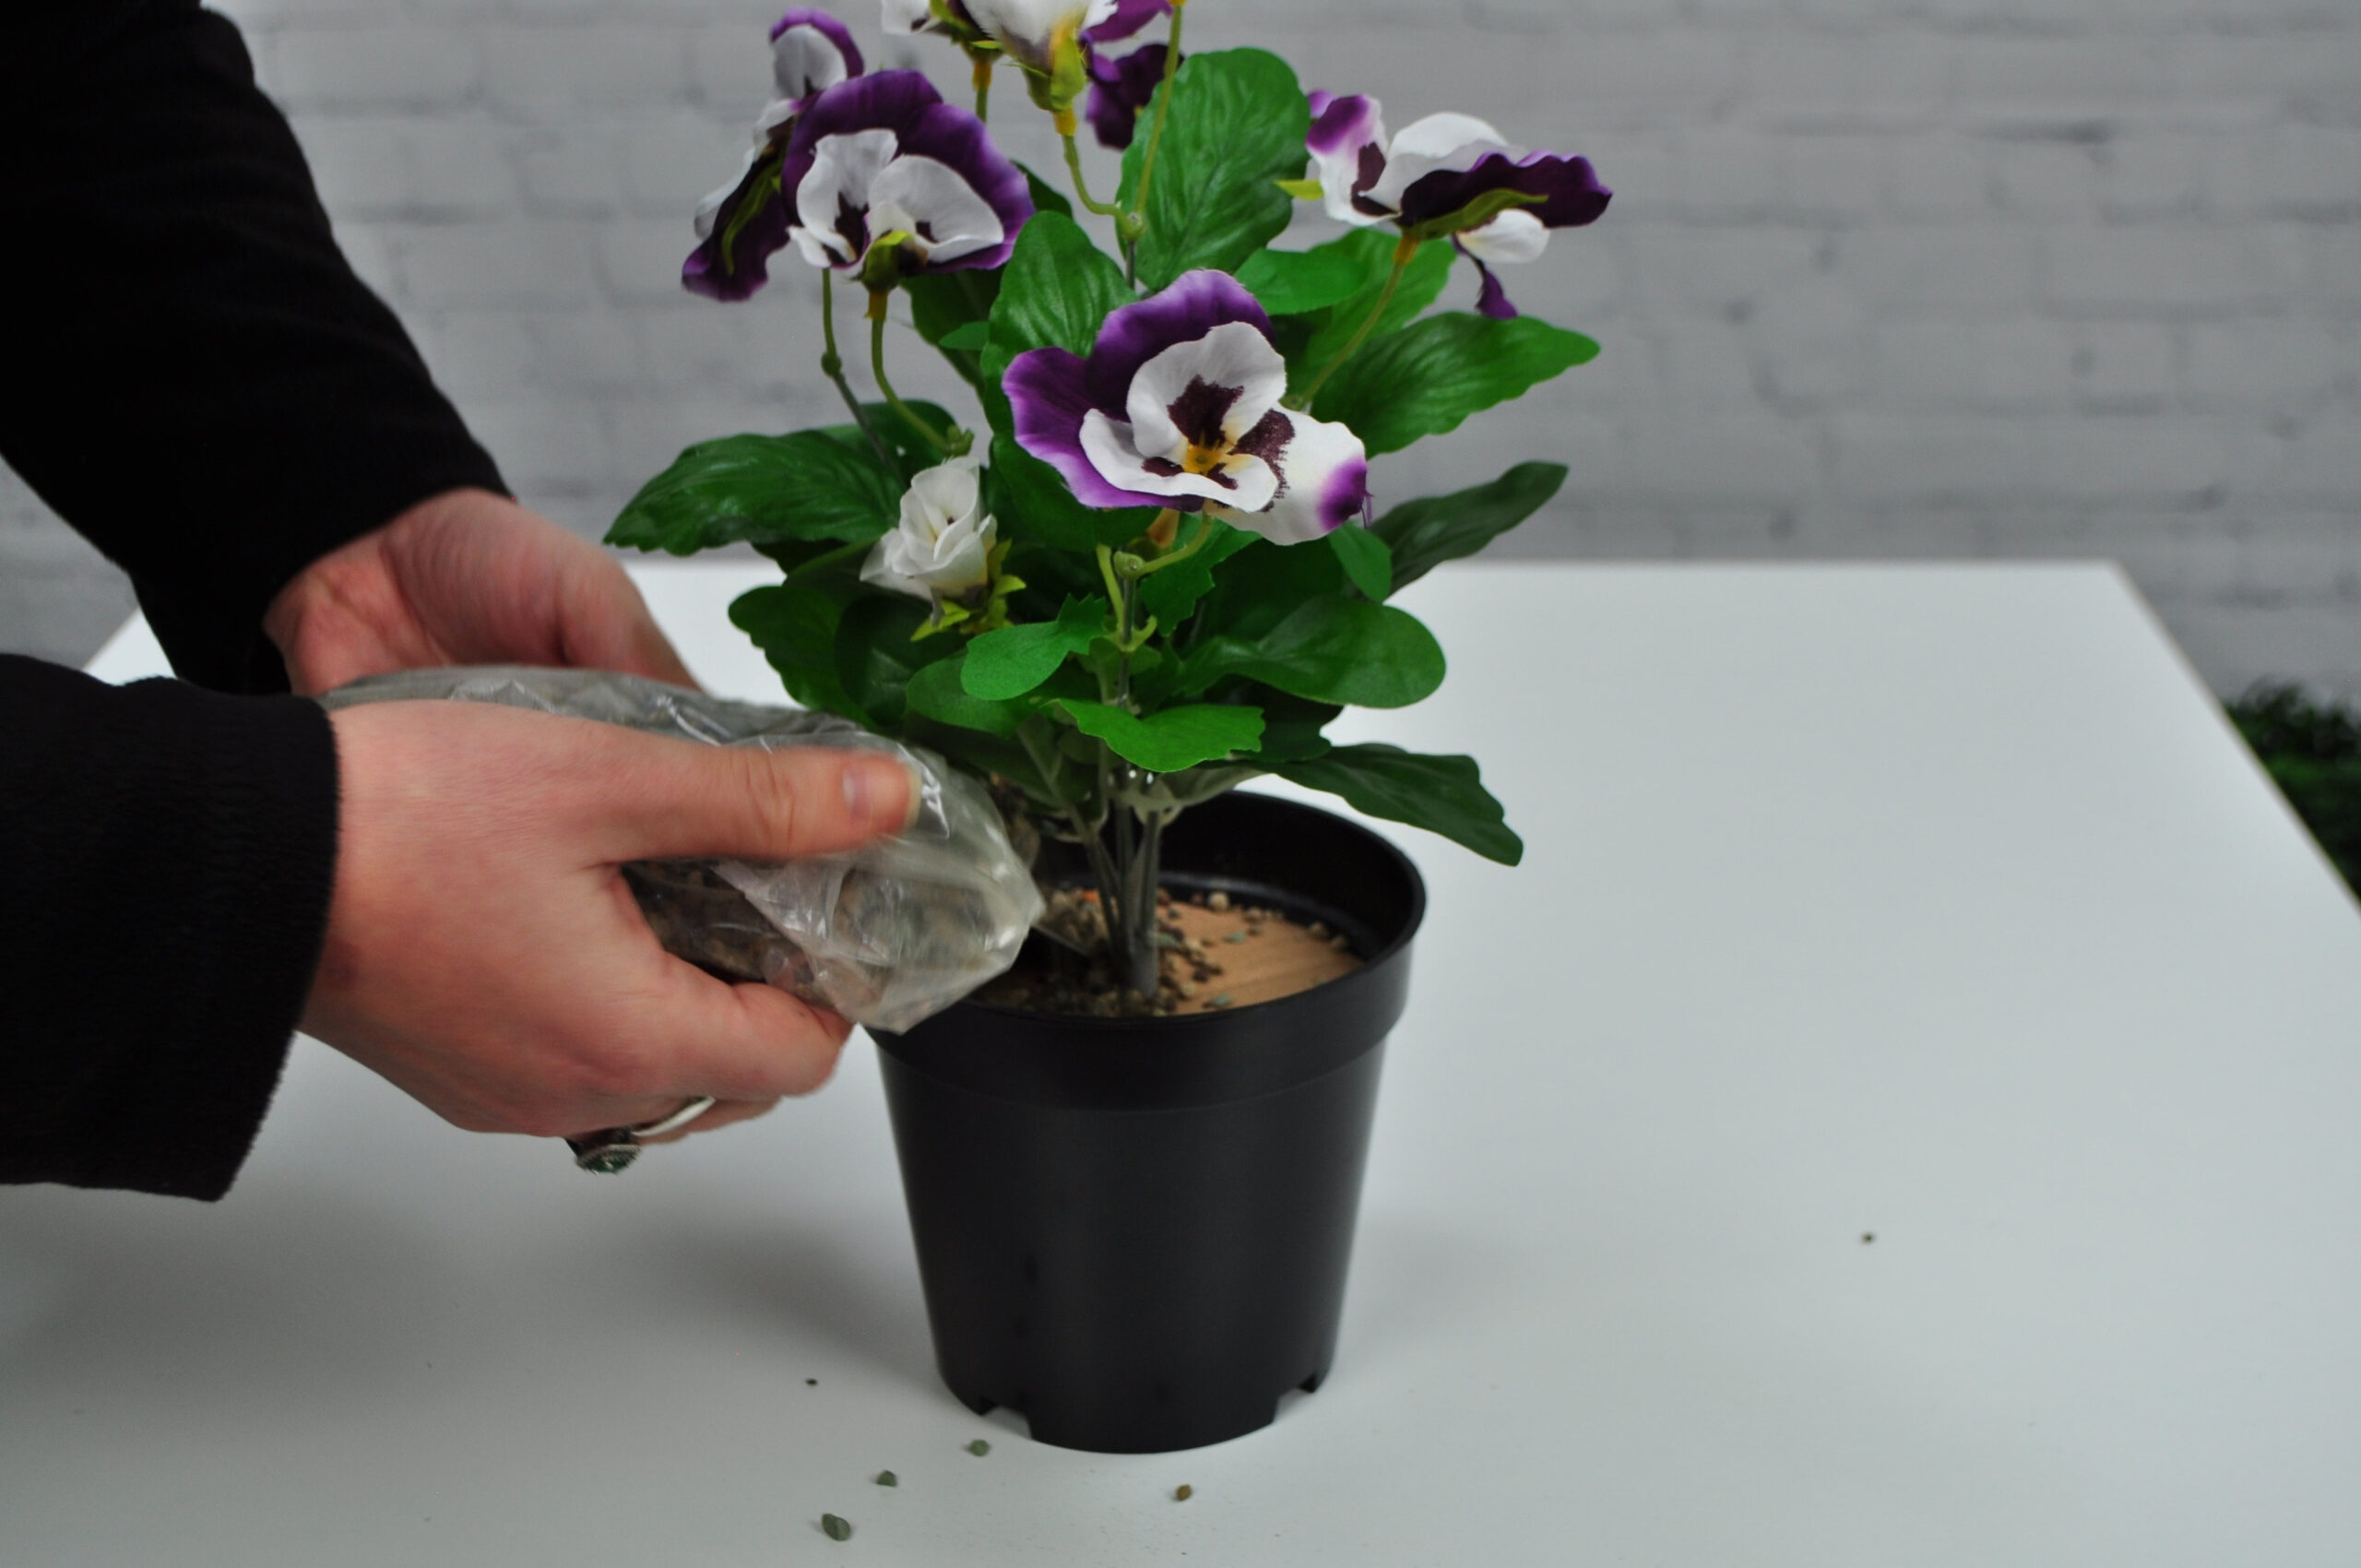
Add decorative topping
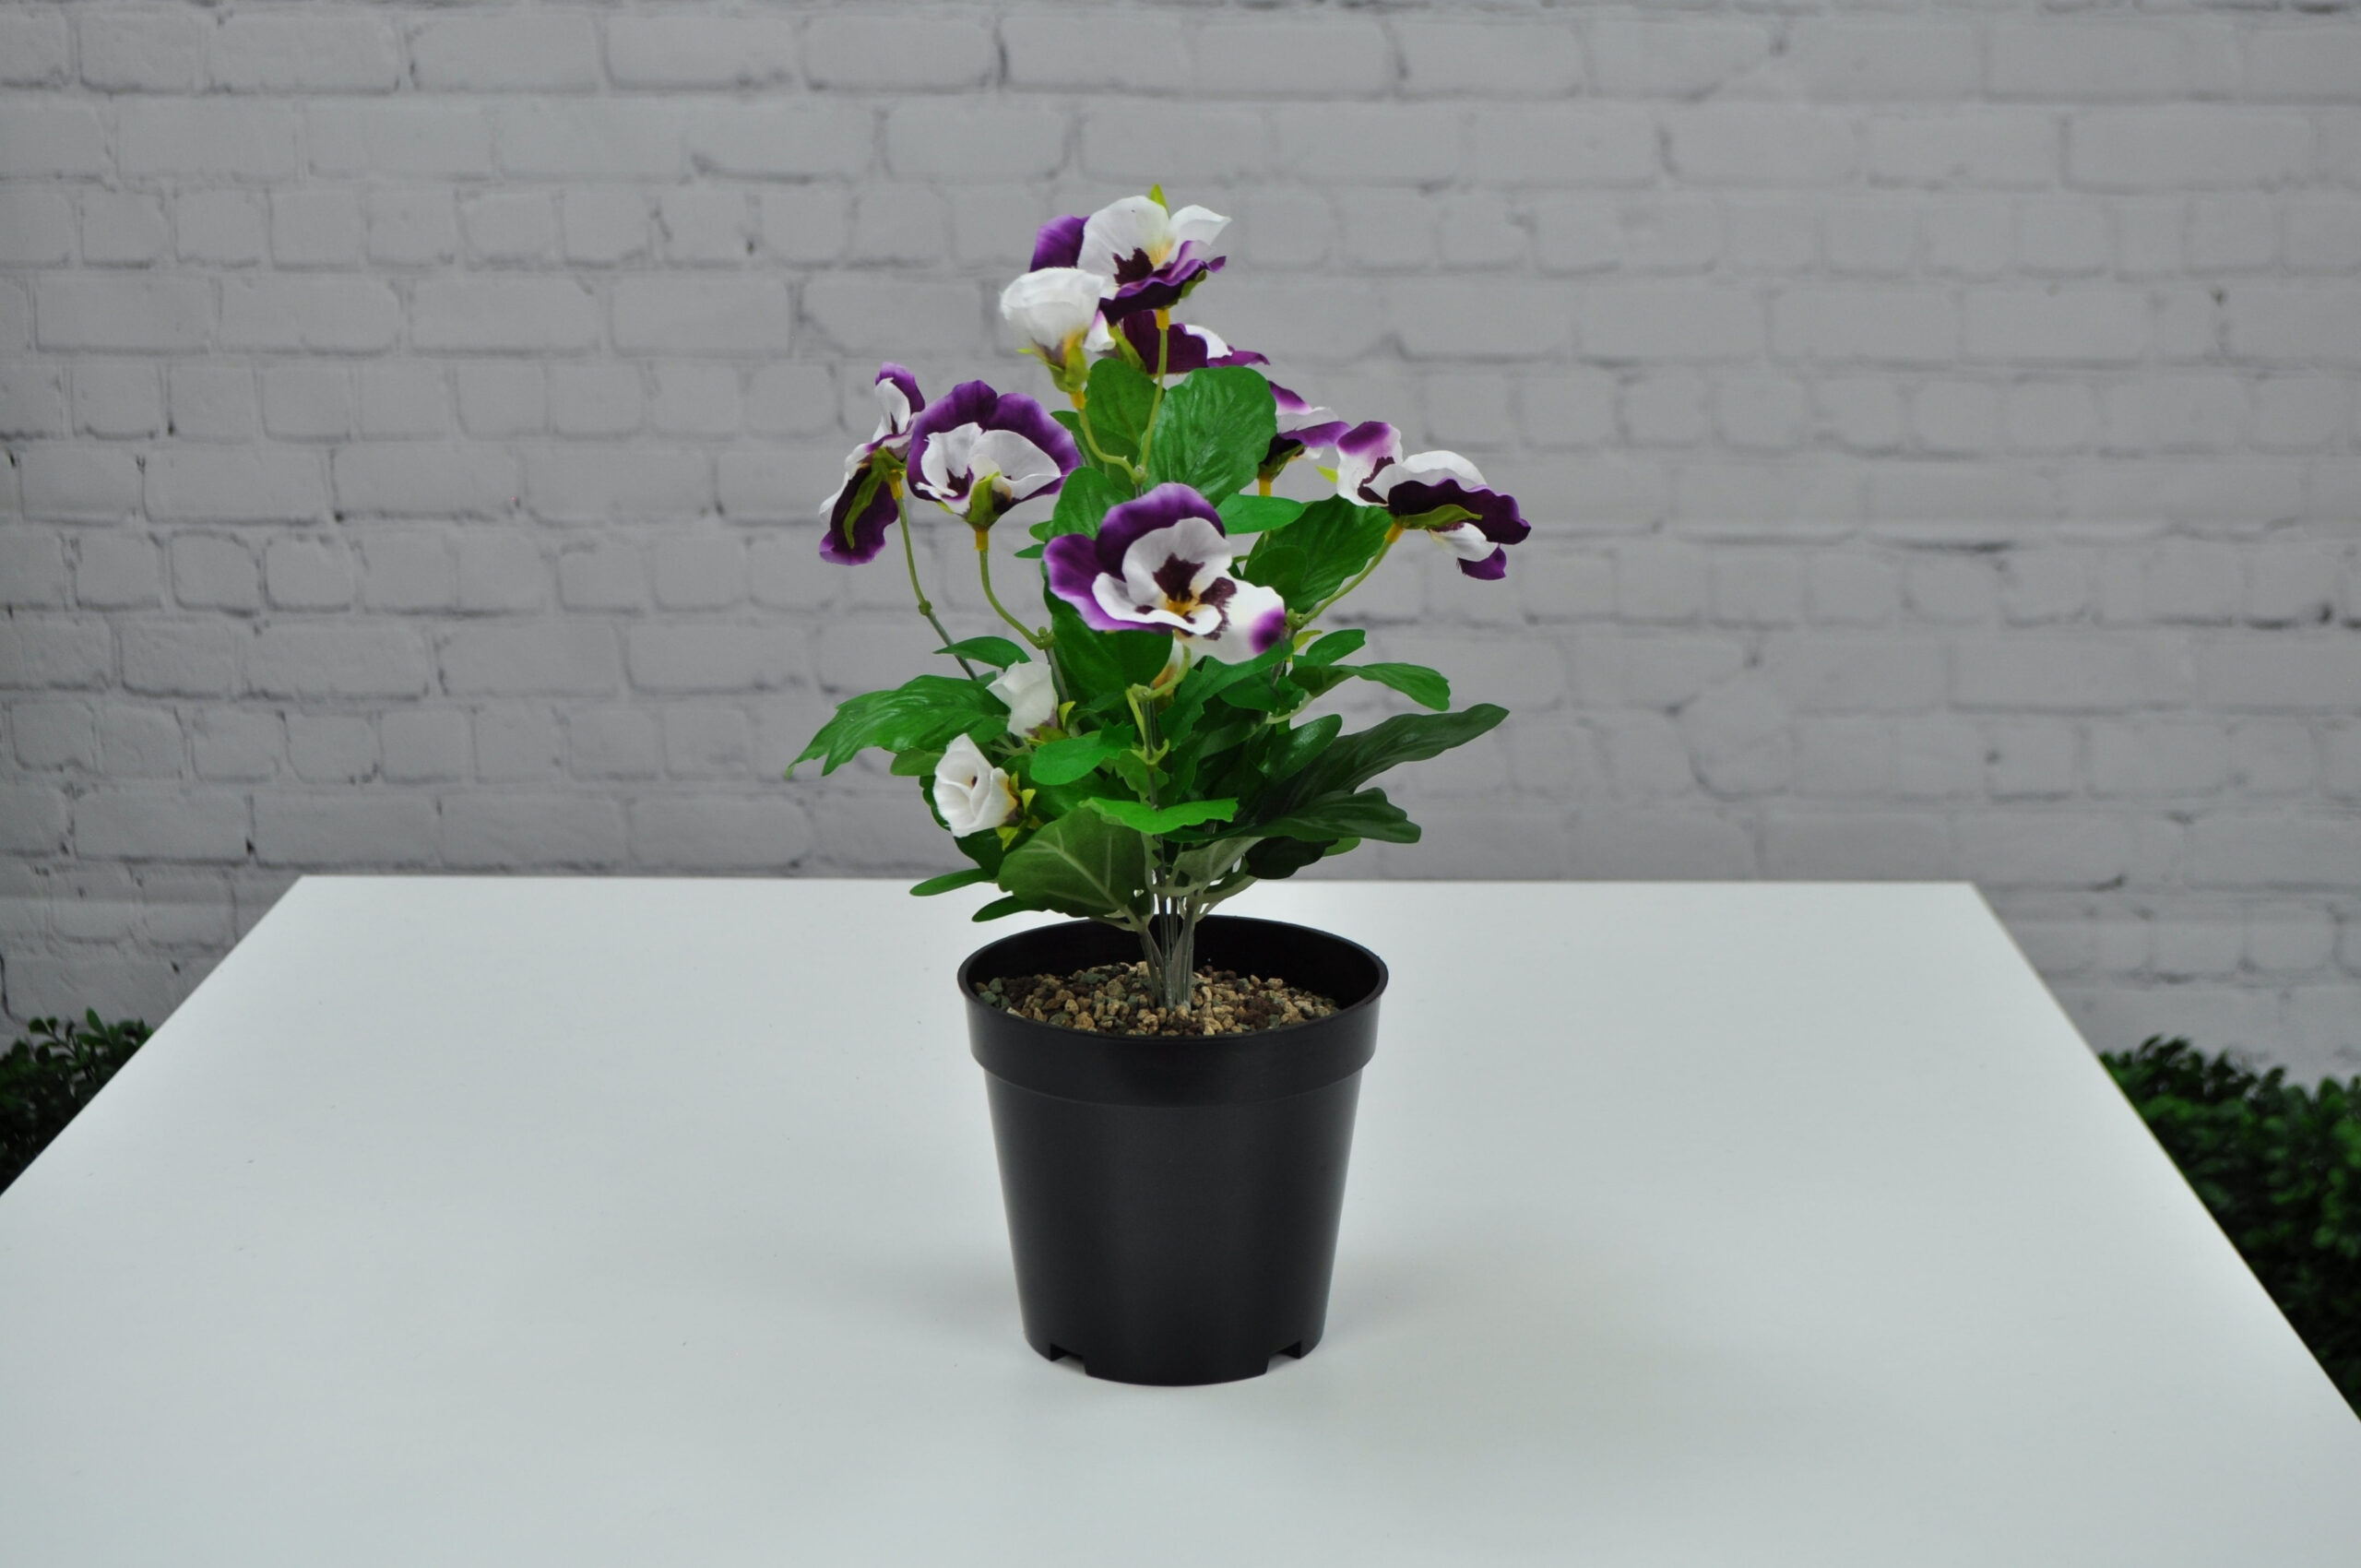
Dress out your plant
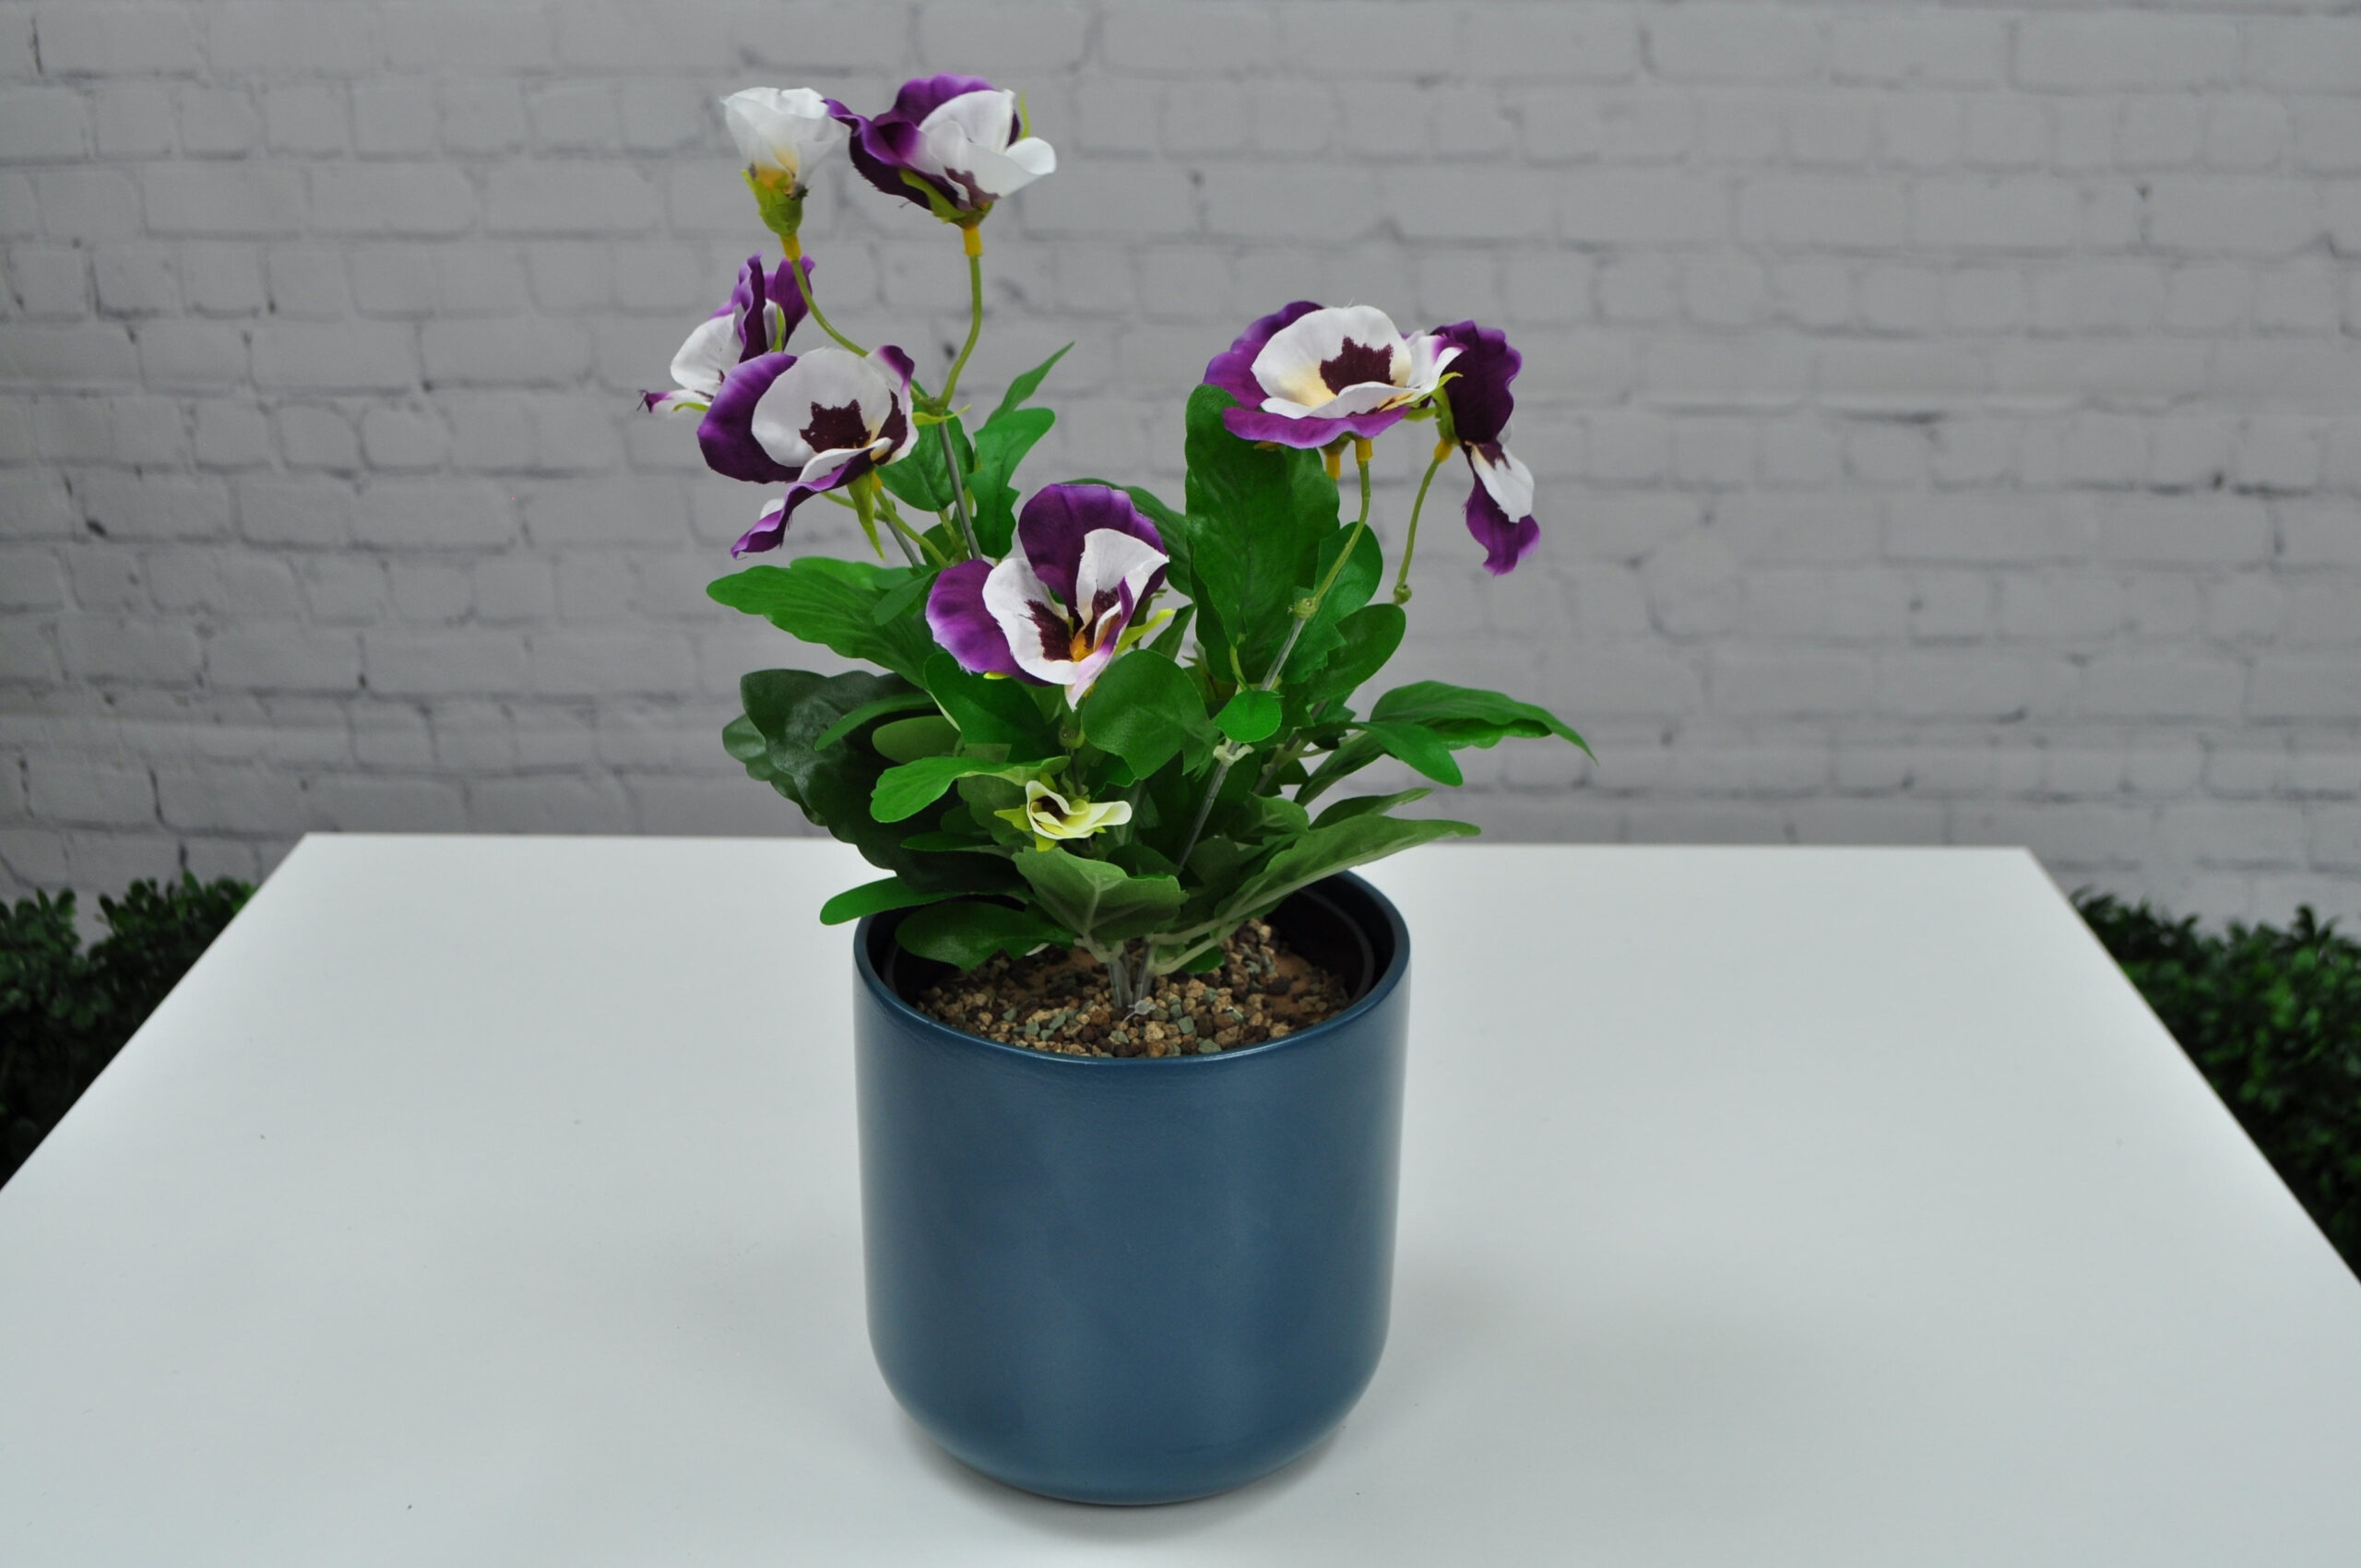
Place into a decorative pot