Free UK Delivery
Bespoke Projects
5 Star Rating
Free UK Delivery - orders over £200
Bespoke Projects
Shop By Category
Services & Support
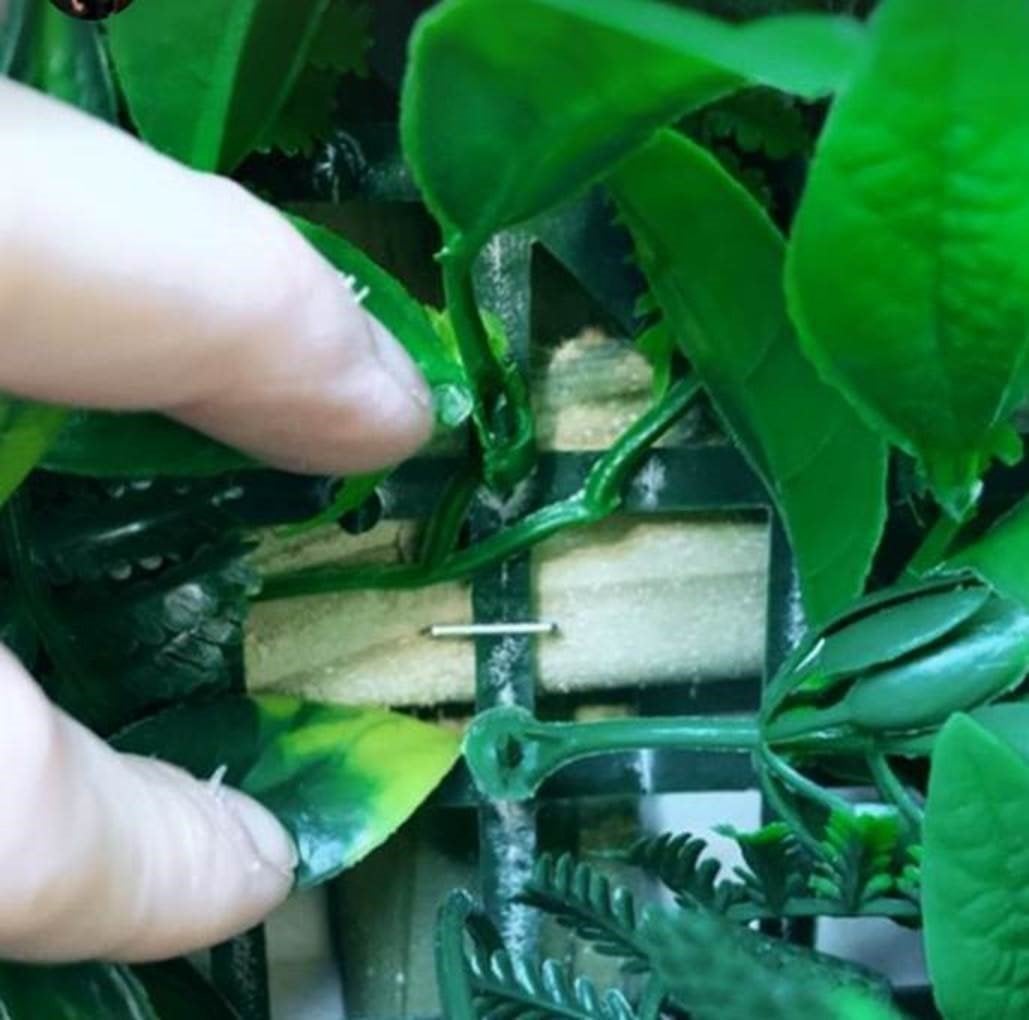
Our panels are typically provided in square meter units, consisting of 16 interlocking mesh tiles measuring 25cm² each. These tiles securely connect using robust press studs, allowing us to offer foliage to the exact 25cm measurement rather than rounding up to a full meter panel.
This innovative design allows you to effortlessly clip or unclip panels to achieve customized dimensions, accurate to the nearest 25cm. Should you need to adjust the size, simply trim the foliage with ease using a Stanley knife or sharp scissors.

This process provides you with the ability to easily clip or unclip the panels, giving you complete flexibility to design your green wall to fit any space. The modular nature of the panels allows you to adjust the dimensions to the nearest 25cm, making it easy to cover any area, whether large or small.
Once you’ve arranged the panels to match your desired layout, you may find that certain areas require trimming to ensure a perfect fit. For this, you can use a Stanley knife or a pair of sharp scissors to carefully cut the foliage and mesh backing. This ensures clean and precise cuts that will maintain the professional look of your green wall.
When trimming, be sure to measure the area accurately before cutting, as this will help to avoid any unnecessary gaps. Begin cutting slowly and steadily, paying attention to the natural flow of the foliage to ensure that your cuts blend seamlessly with the rest of the panel. Take care not to damage any neighbouring foliage during the trimming process.
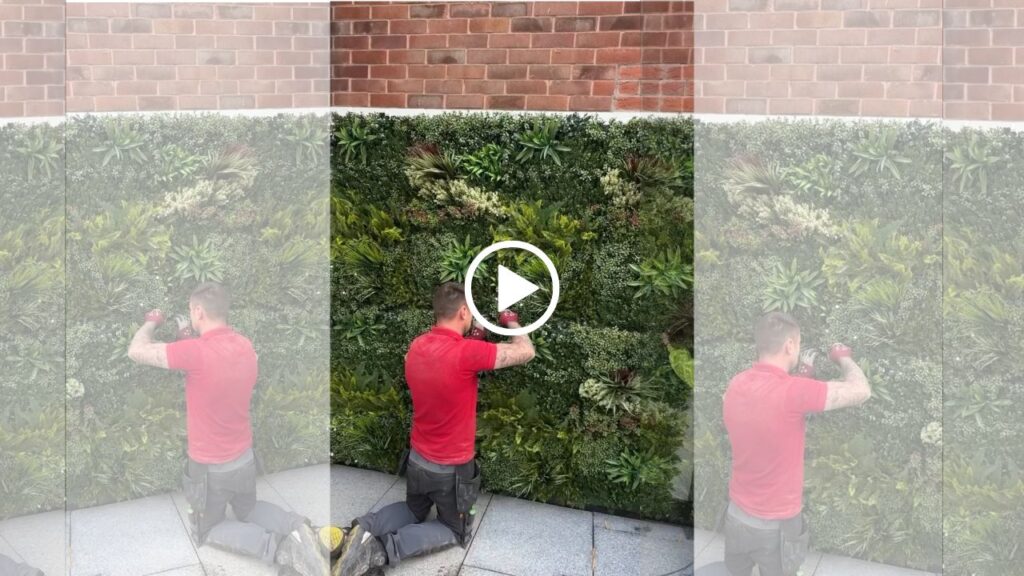
Secure the mesh backing of the green wall to the timber or desired surface using a nail gun or staple gun, ensuring that it is firmly attached at multiple points for maximum stability. It’s important to start at one corner and work your way across the panel, securing it evenly and checking that the mesh stays taut to avoid sagging or unevenness. Aim to space your nails or staples approximately 10-15cm apart along the edges and at key points in the center for additional support, especially if the wall is being placed outdoors where it may be exposed to wind or other elements.
Once the panels are securely attached, assess the edges and overall appearance of the foliage. You may find that some areas have excess foliage hanging over the edges or uneven sections that require a more refined finish. Use a pair of sharp scissors to carefully trim any surplus foliage, ensuring that the edges are clean and neat. This will give your green wall a polished, professional look.
Be sure to save any trimmings, as they can be extremely useful for filling in any gaps or areas that may need extra coverage. These small pieces can be tucked into sparse spots by gently weaving them into the existing mesh or attaching them using garden wire or zip ties for a more secure hold. This helps to create a fuller, more seamless appearance.
If attaching to a bright coloured wall whether this is exterior or interior we recommend painting the wall a dark colour to hide and discrepancies, or attaching a dark weed barrier like material first and then the green wall over the top.