Free UK Delivery
Bespoke Projects
5 Star Rating
Free UK Delivery - orders over £200
Bespoke Projects
Shop By Category
Services & Support
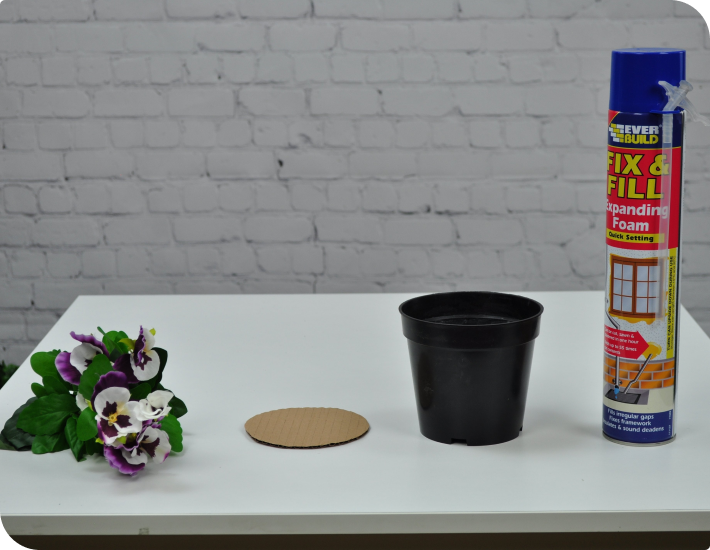
In your fixing kit you will receive:
1 x can of foam
1 x bag of pre-glued stones
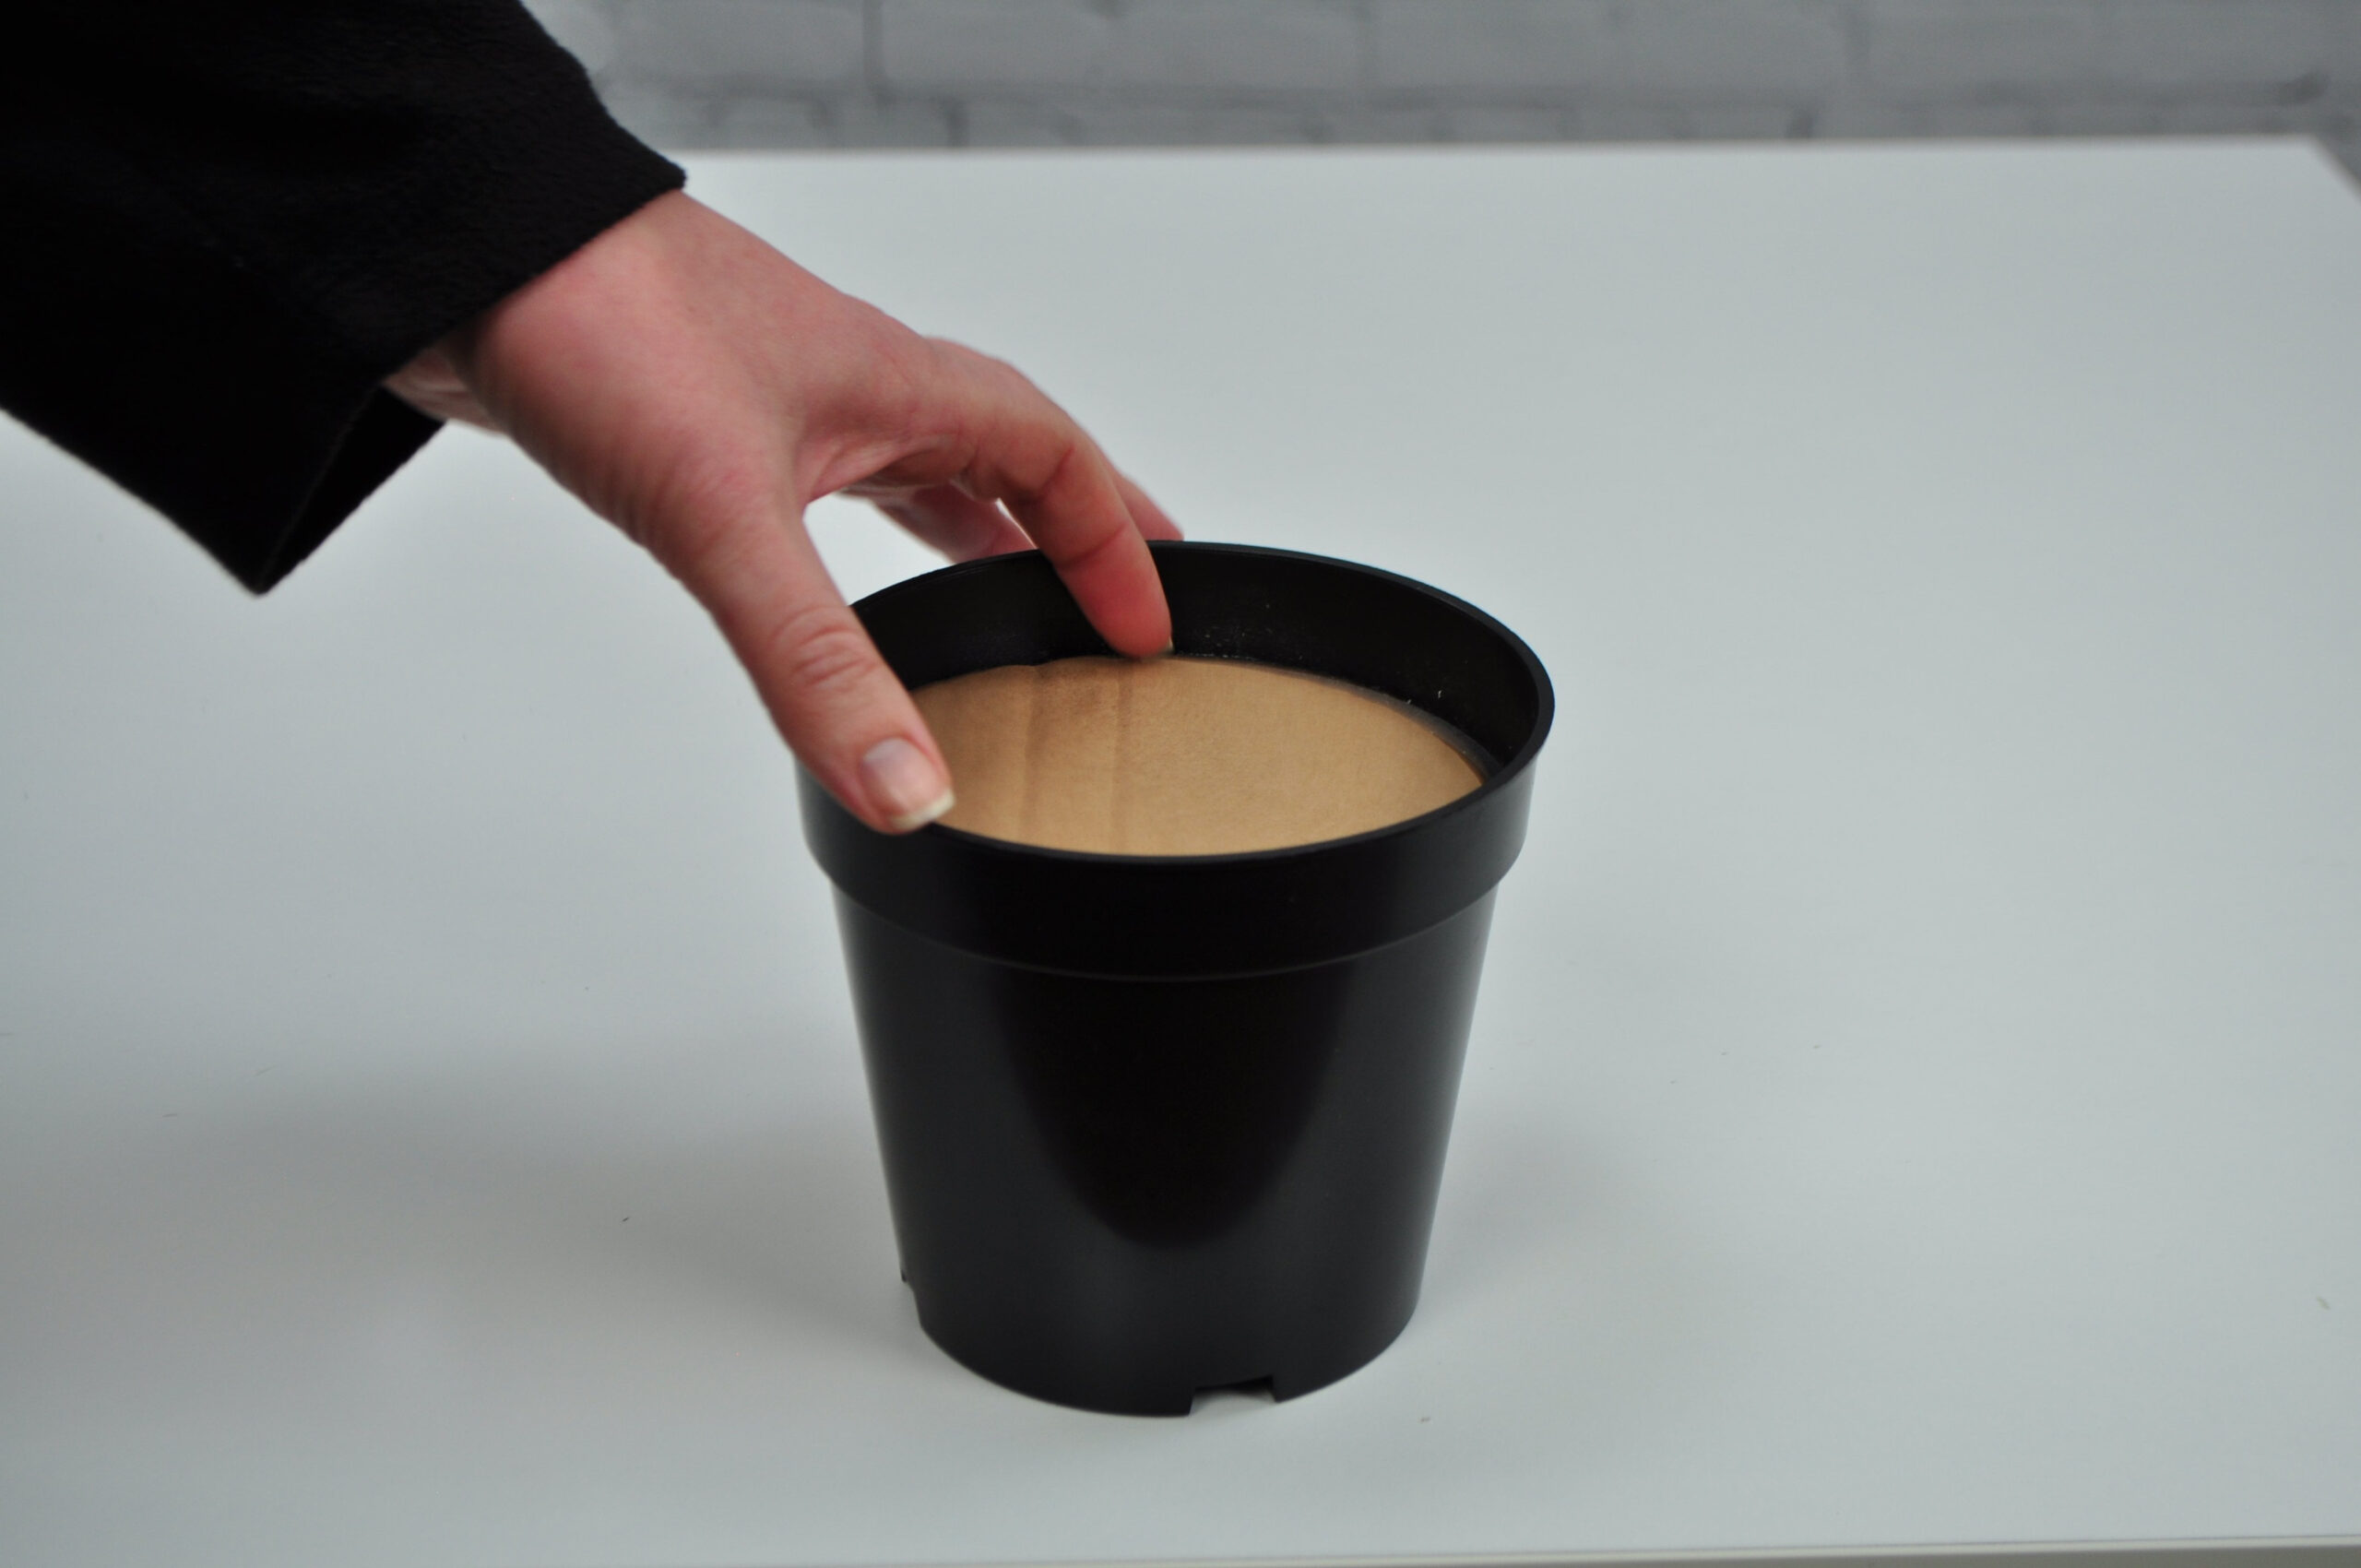
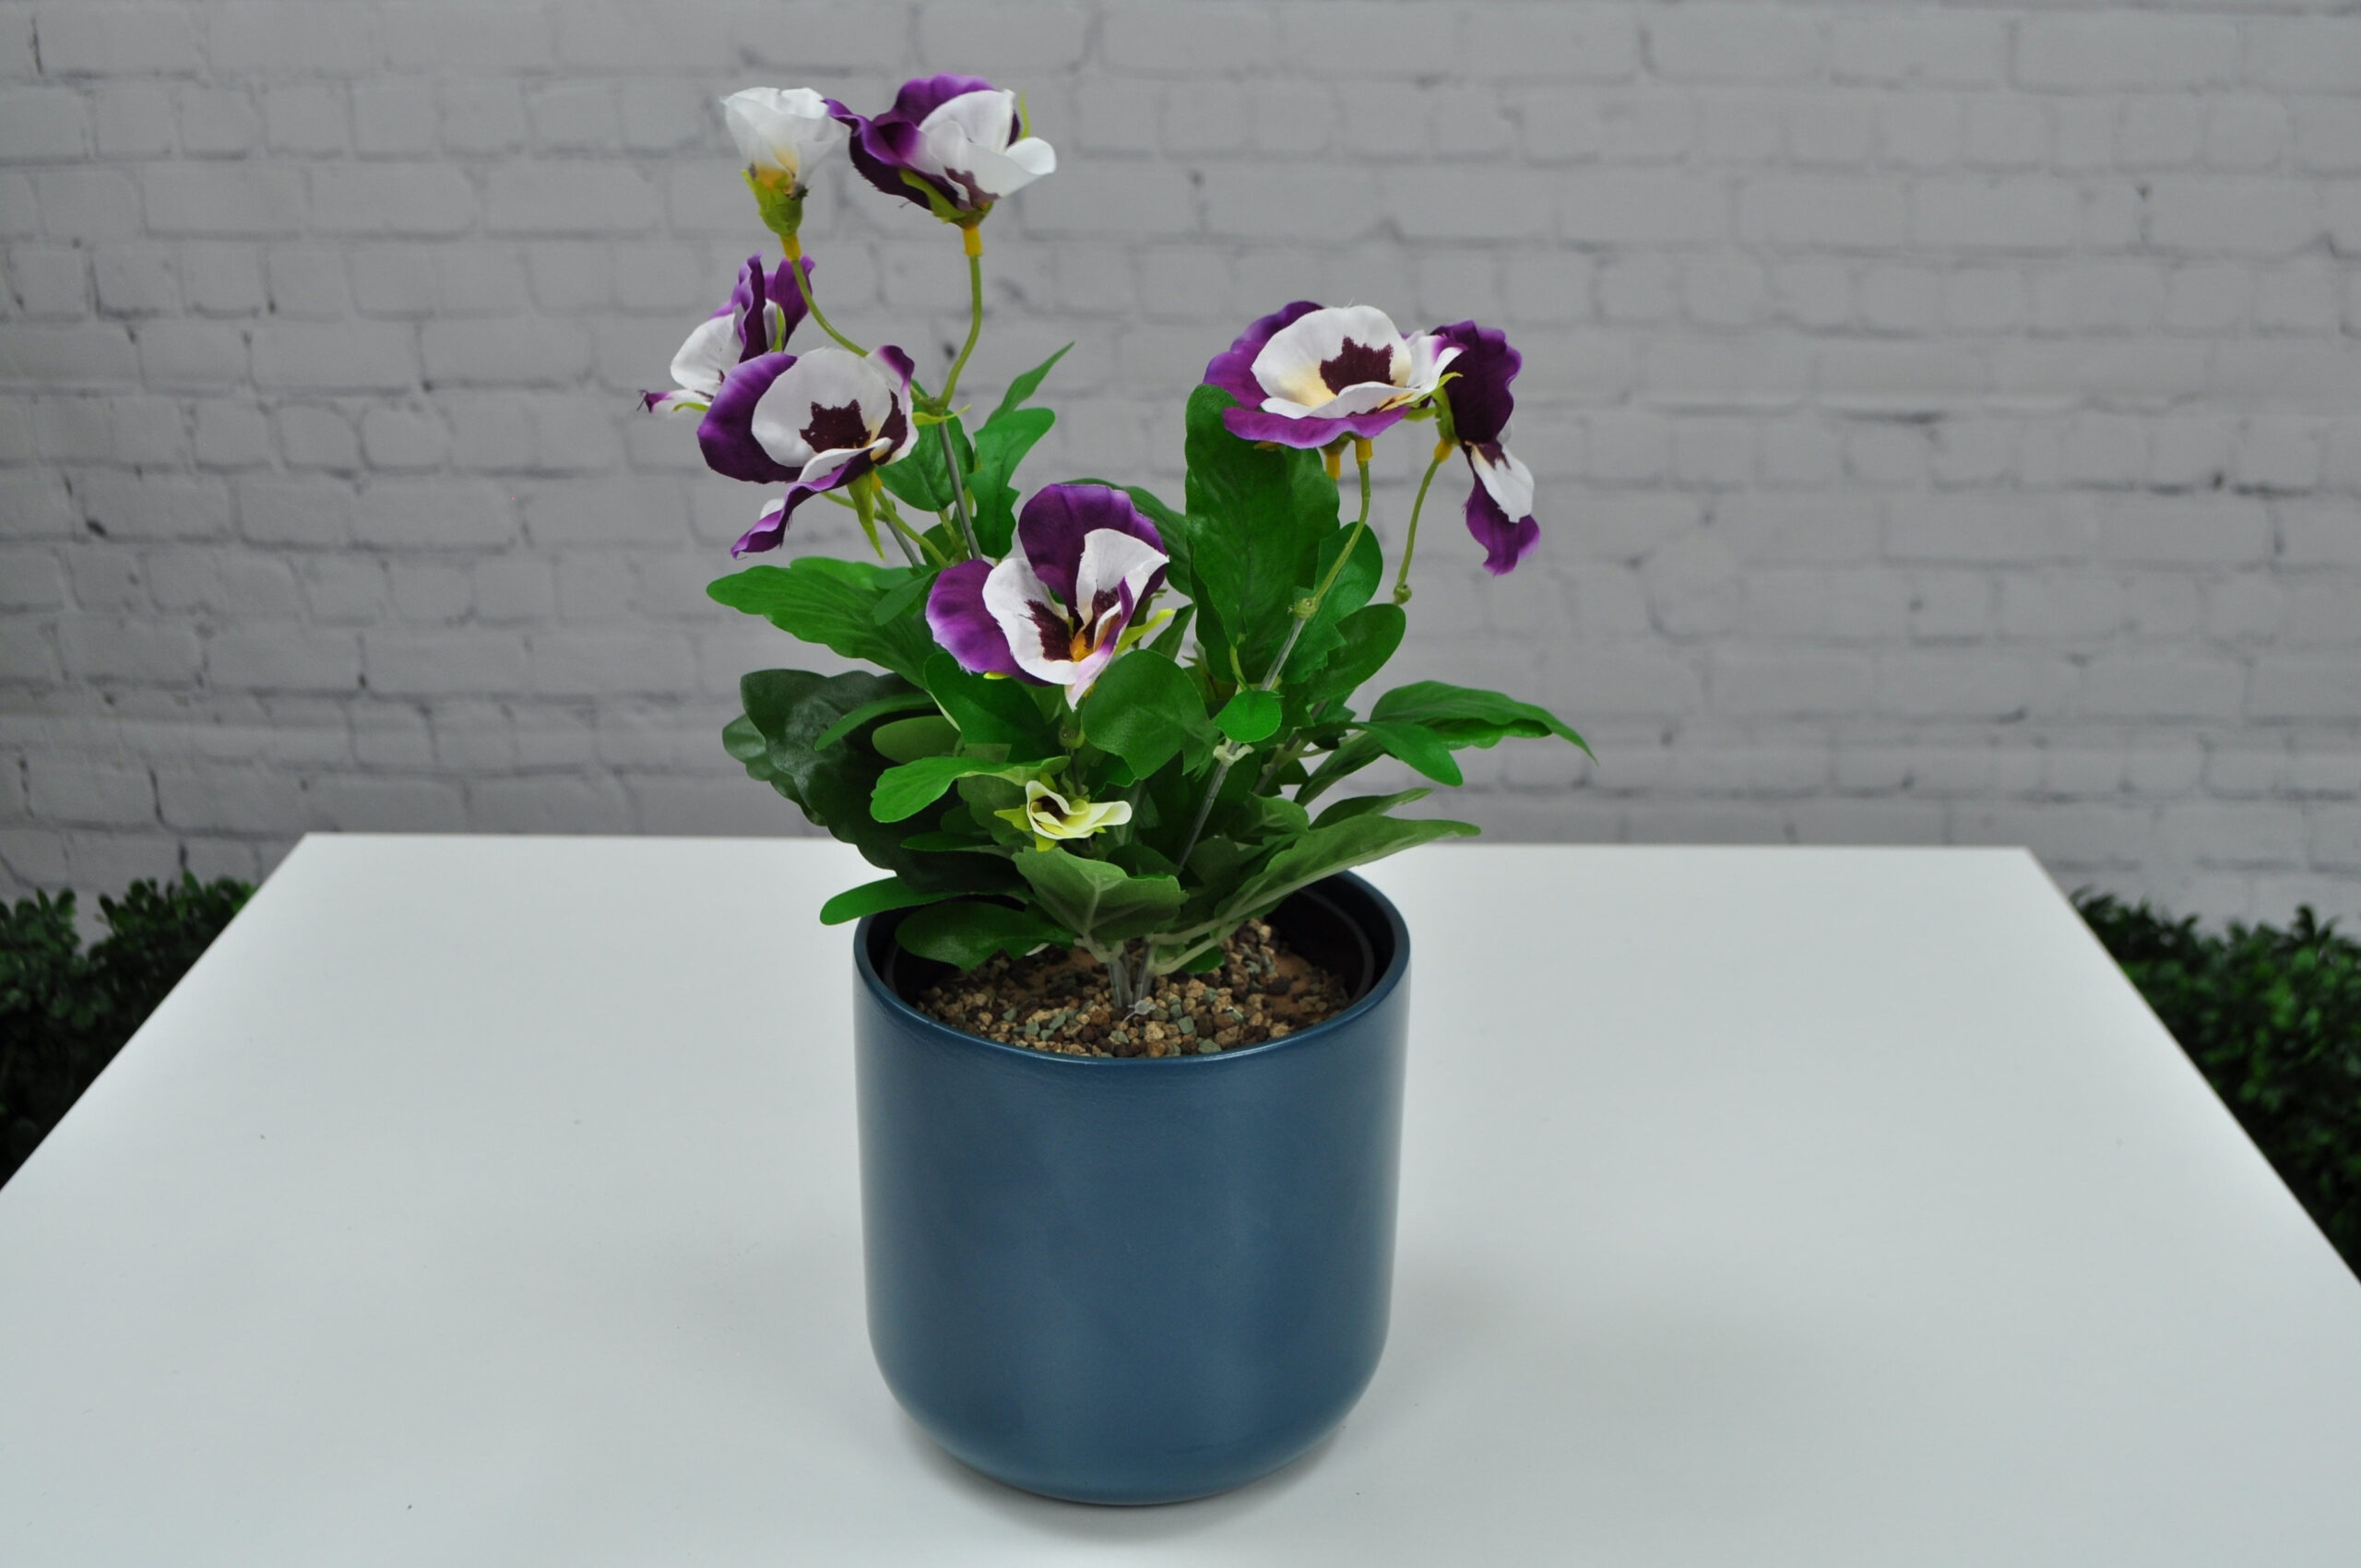
Place your plant/tree still in its starter pot into your chosen decorative planter
– Place stones, mud, or any bulky item into the bottom of the pot to raise the starter pot close up to the rim
– Wedge the gaps around the edge of the transporter pot so this is now stable
– Use the foam to make secure (the can is big enough for two planters so you don’t need it all) and allow to dry
– Create a smooth surface, trimming any foam flat and then add your pre-glued stones (if your plant/tree came with a cardboard pot template you can place this back on and add your pre- glued stones on top pf this
– Allow to dry inside for 4-6 hours
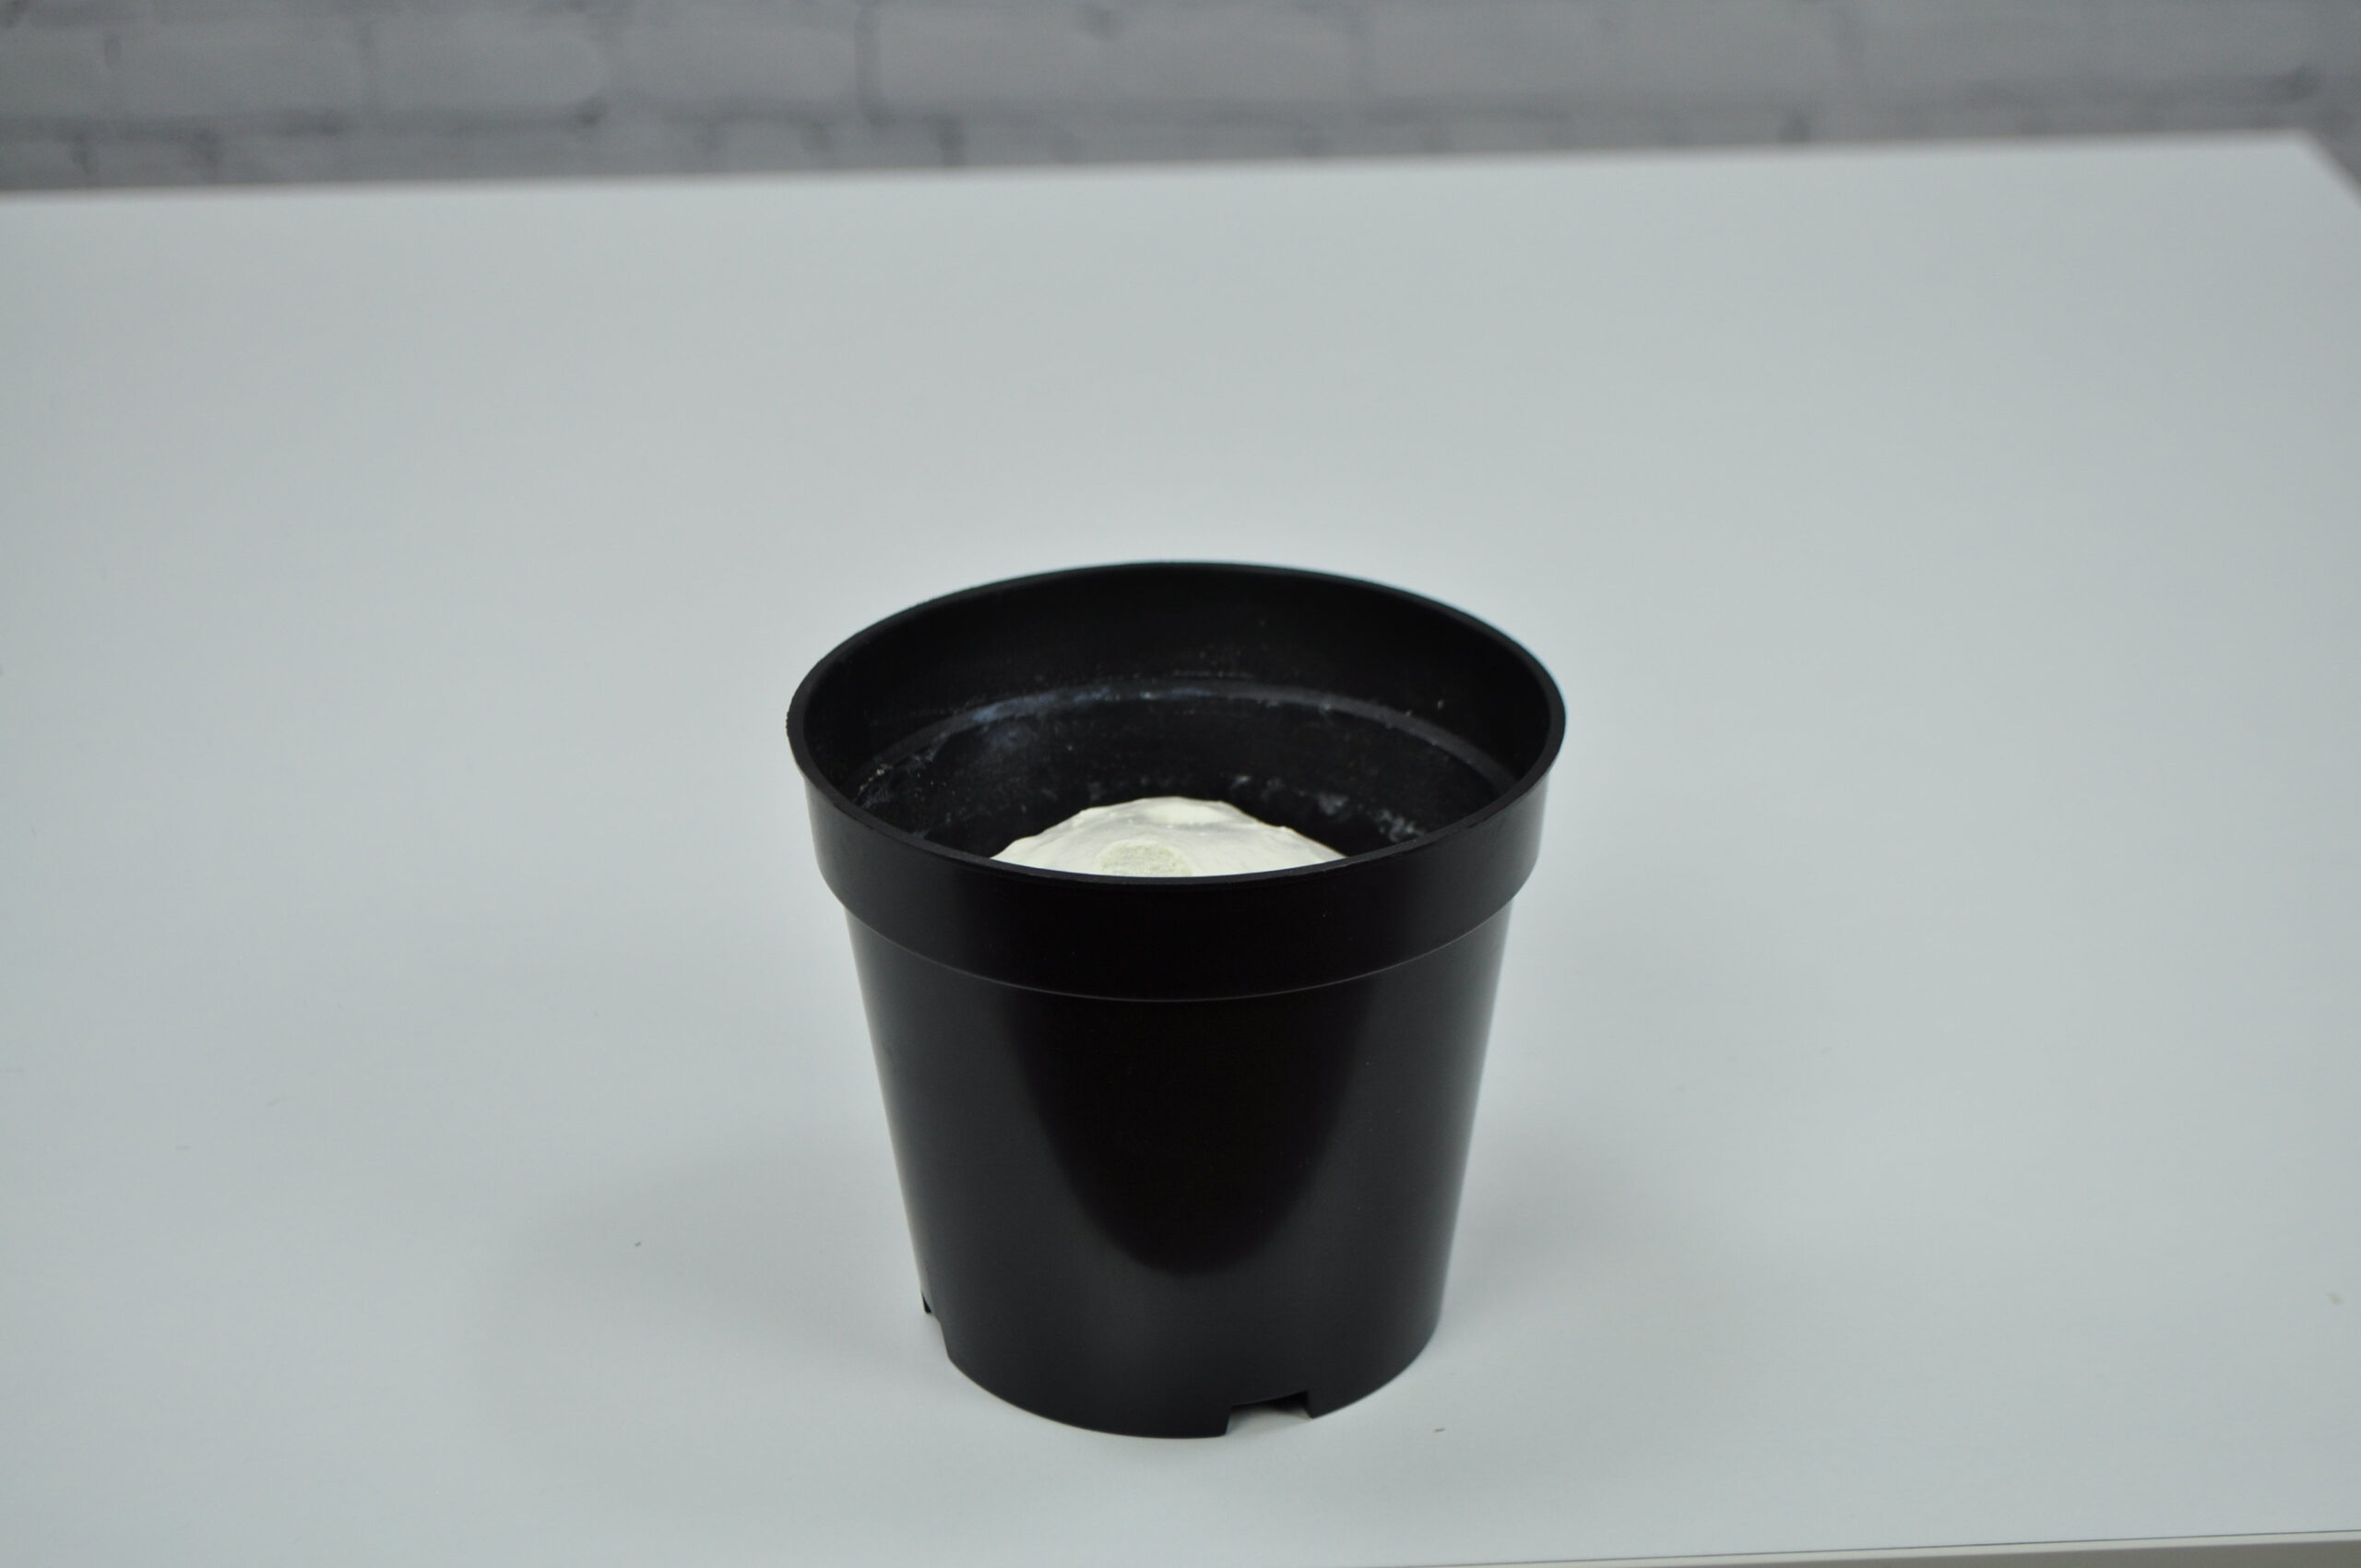
Fill pot with foam one-third full (allow for expansion)
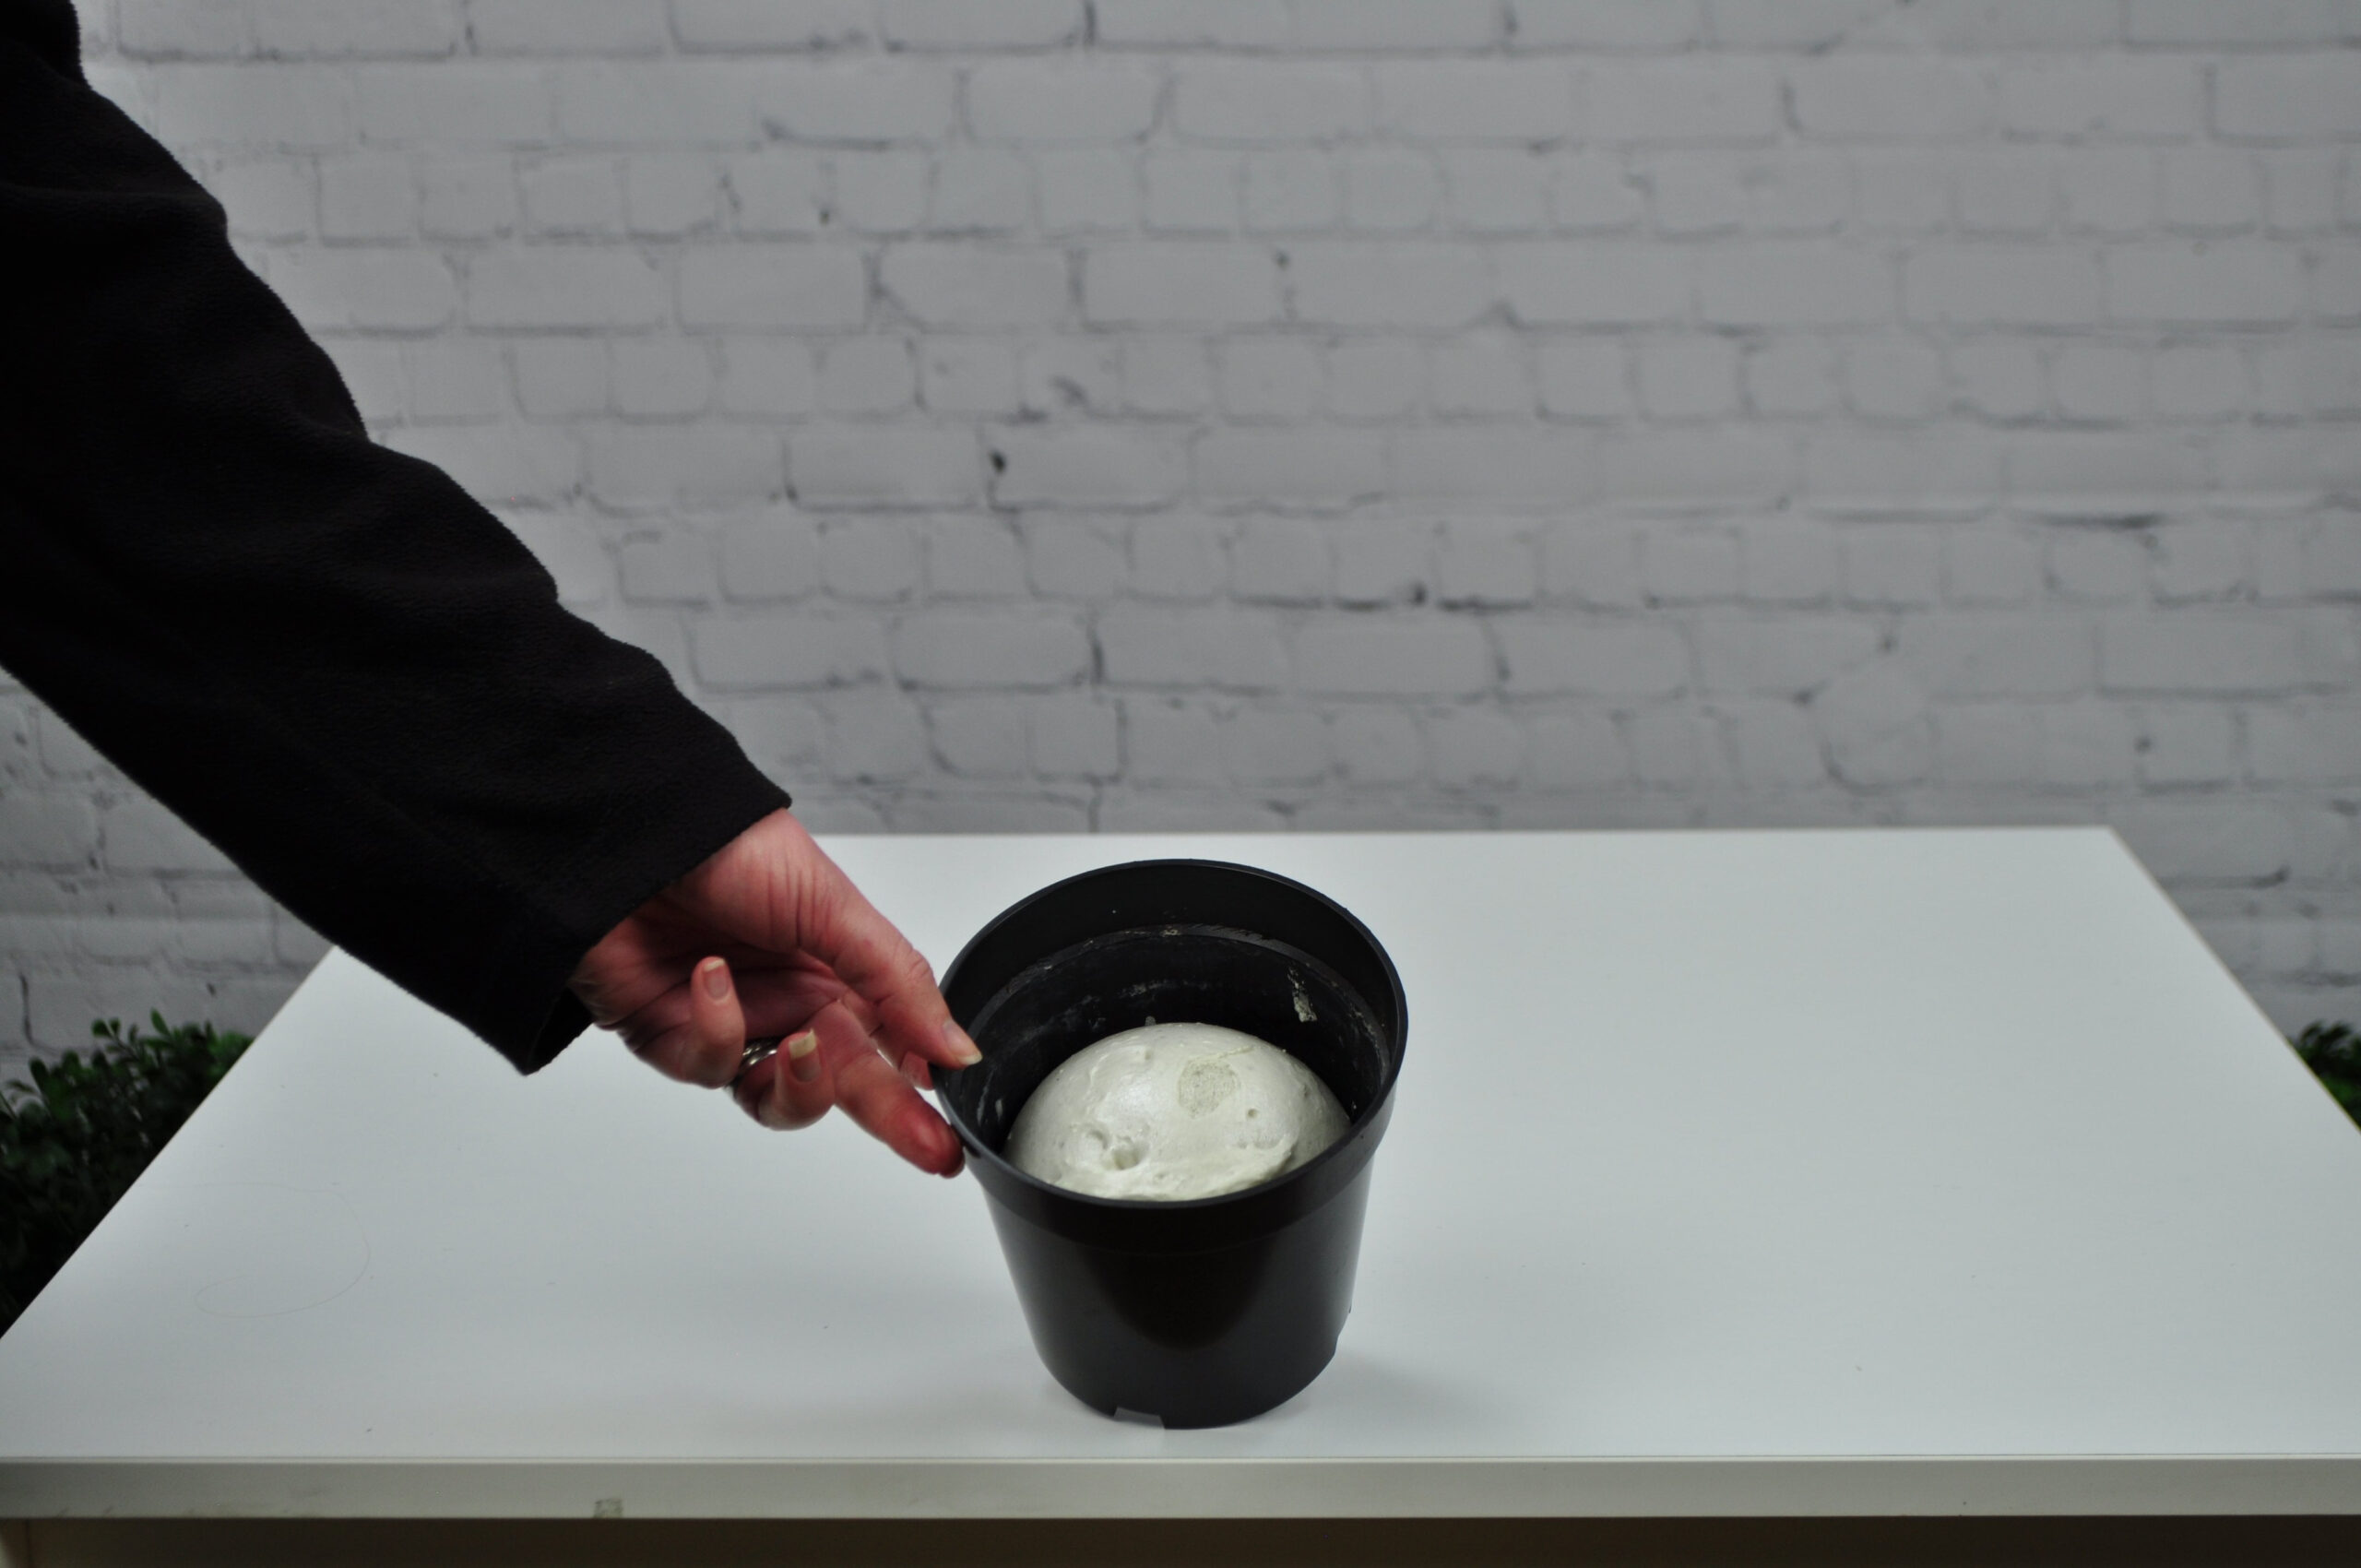
Allow to expand and fully dry
Create a cardboard topper
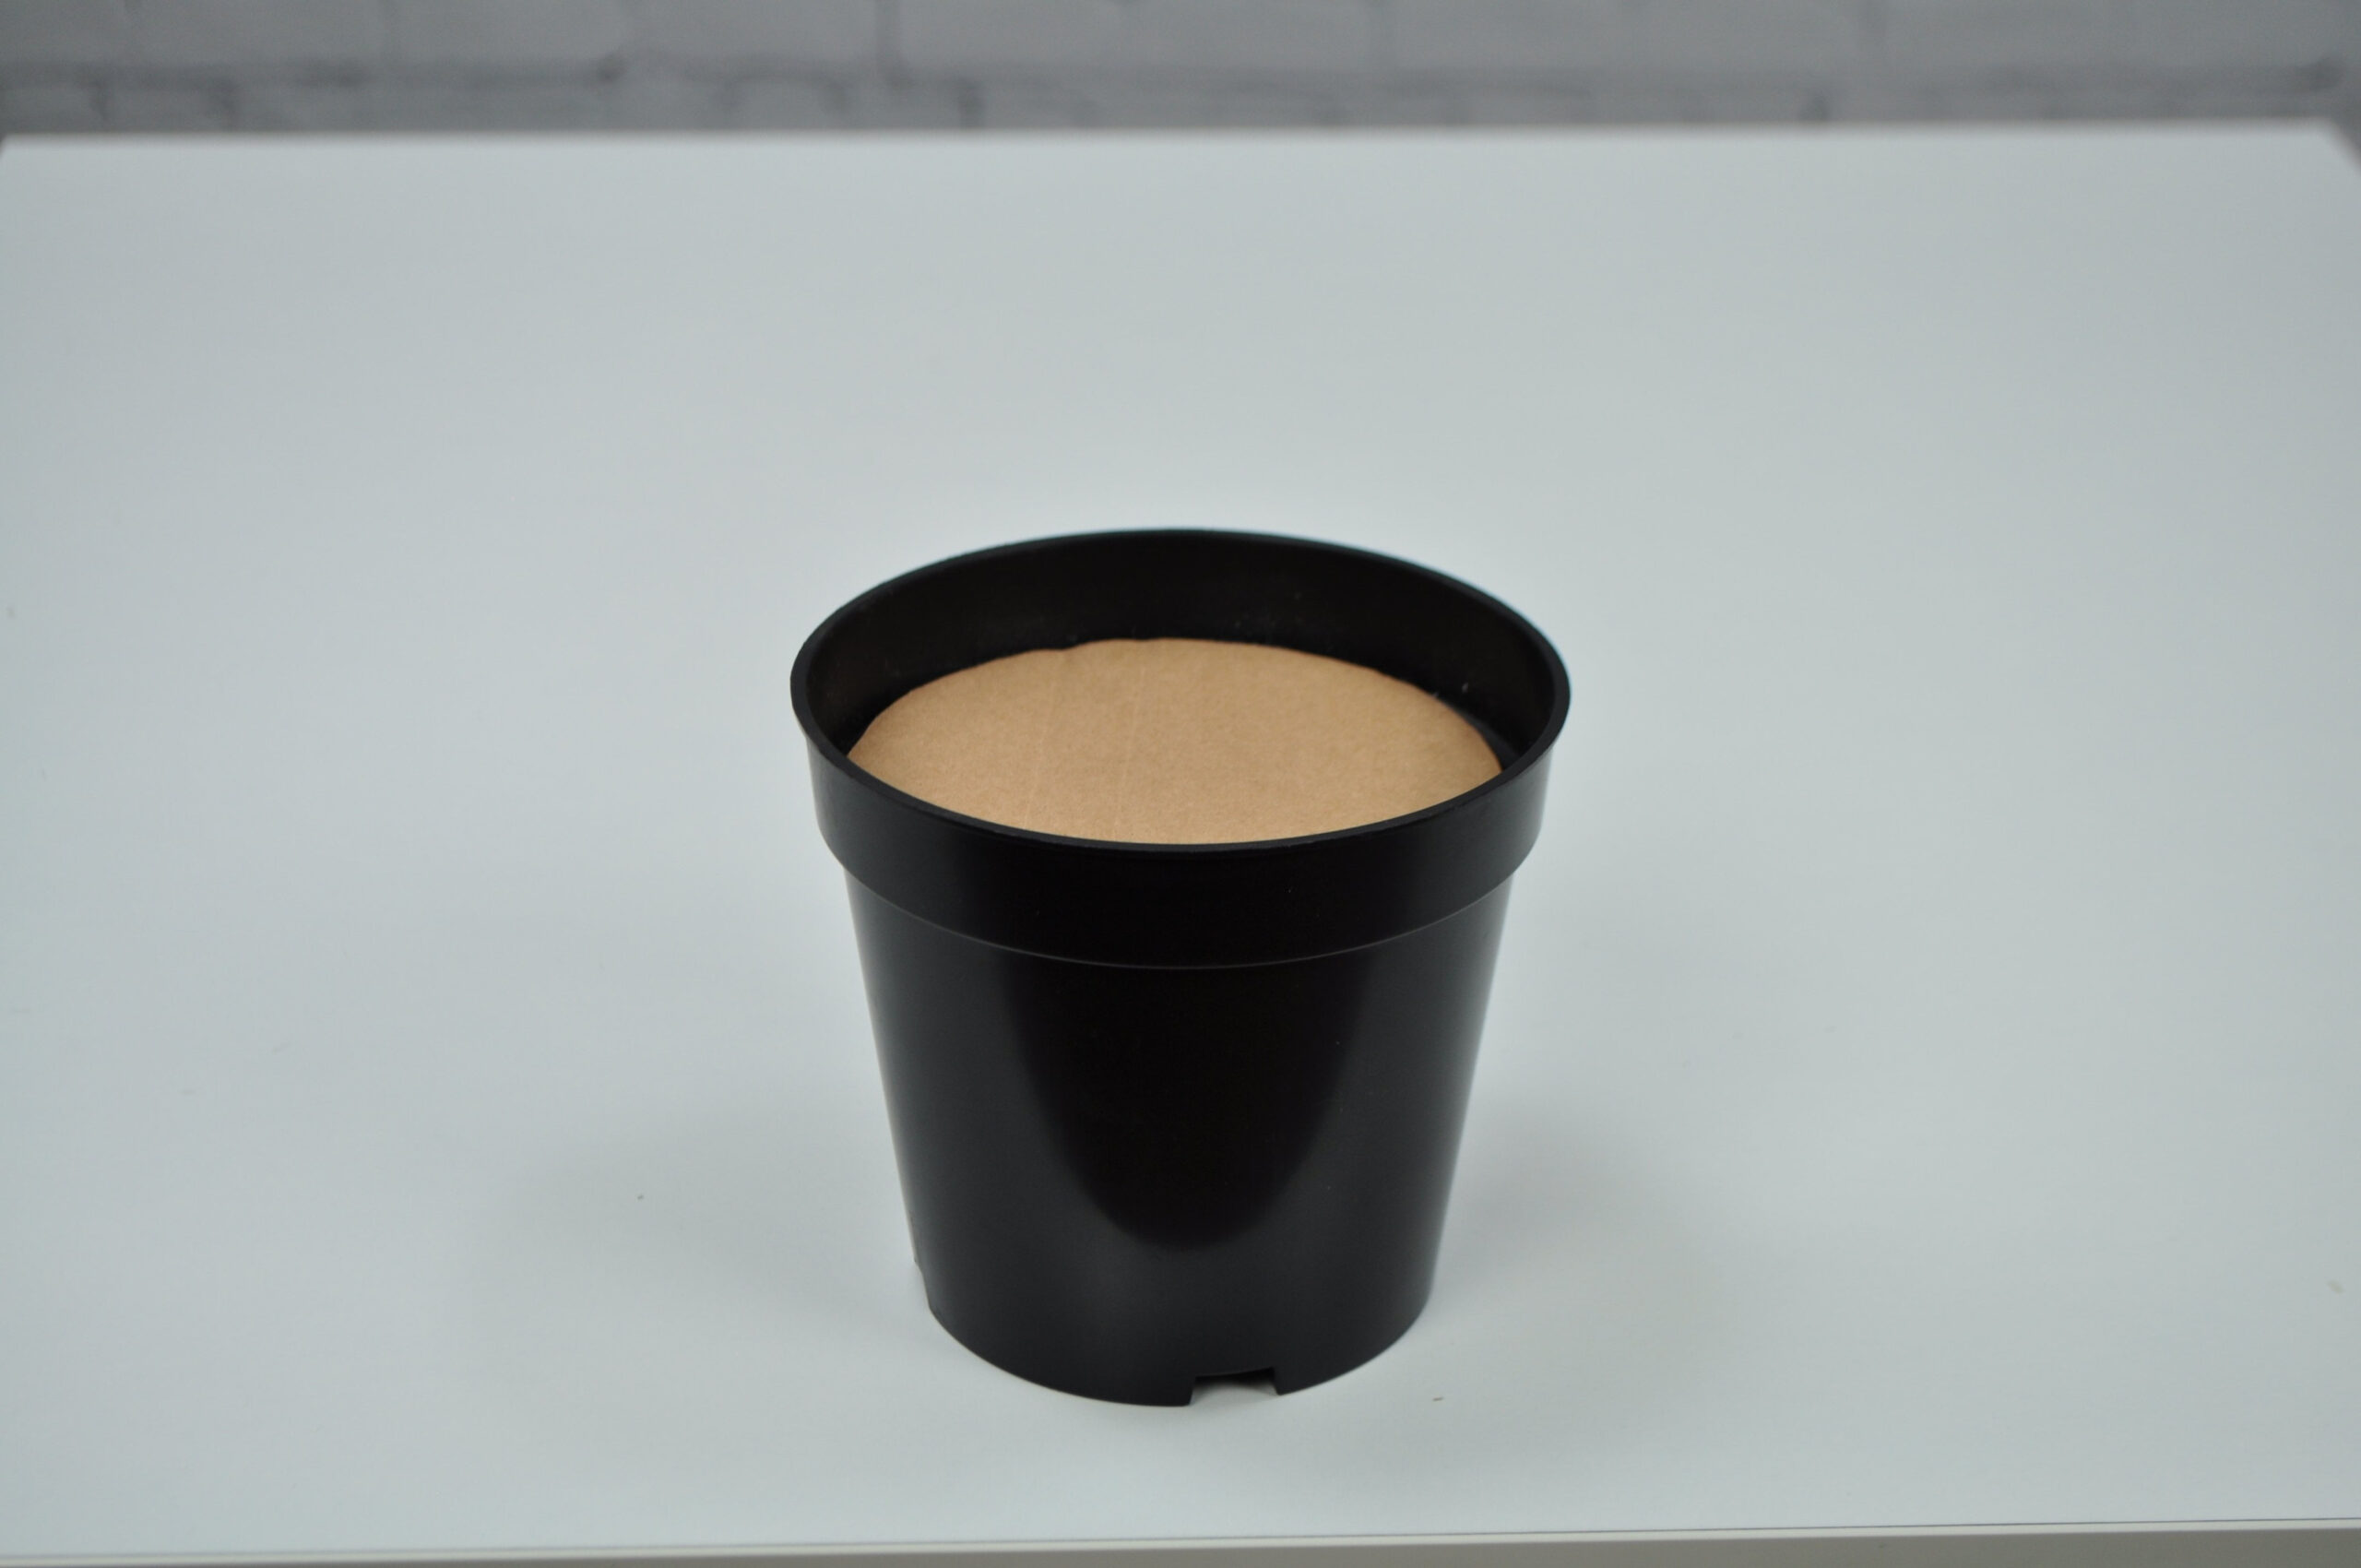
Create a level surface with the topper - trimming any foam necessary

Insert the stem of plant into the topper and down into the foam
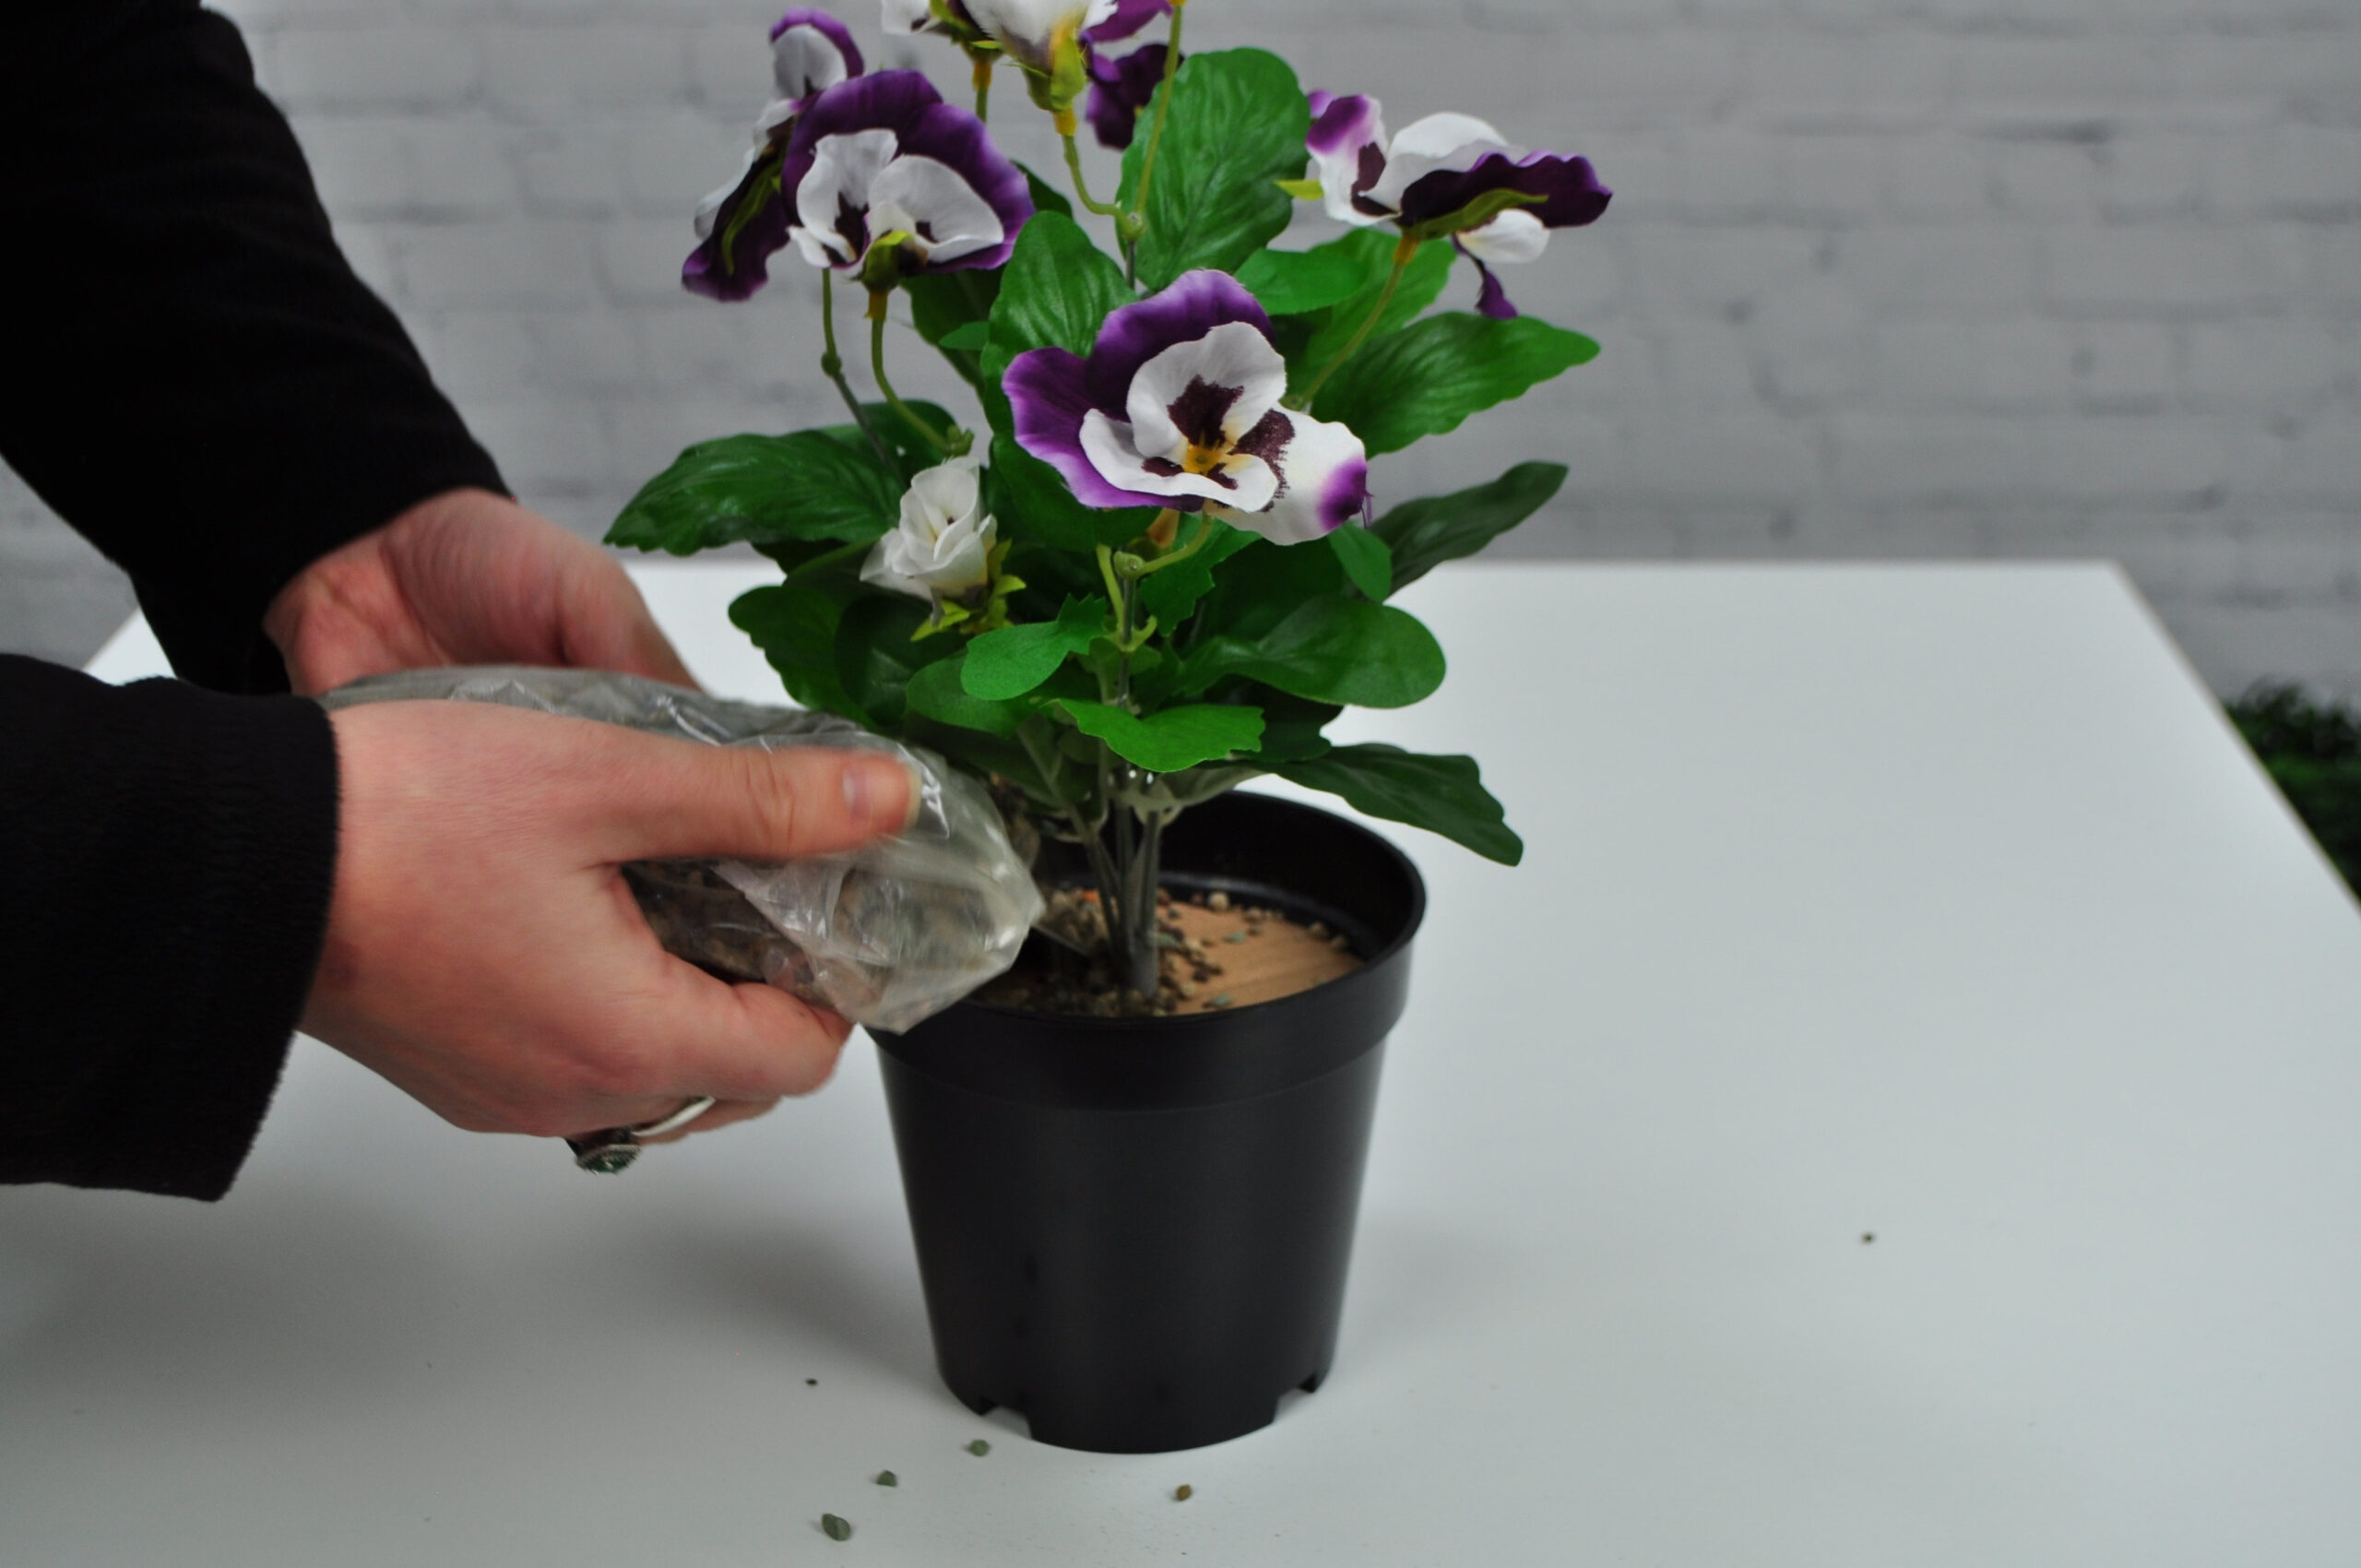
Add decorative topping
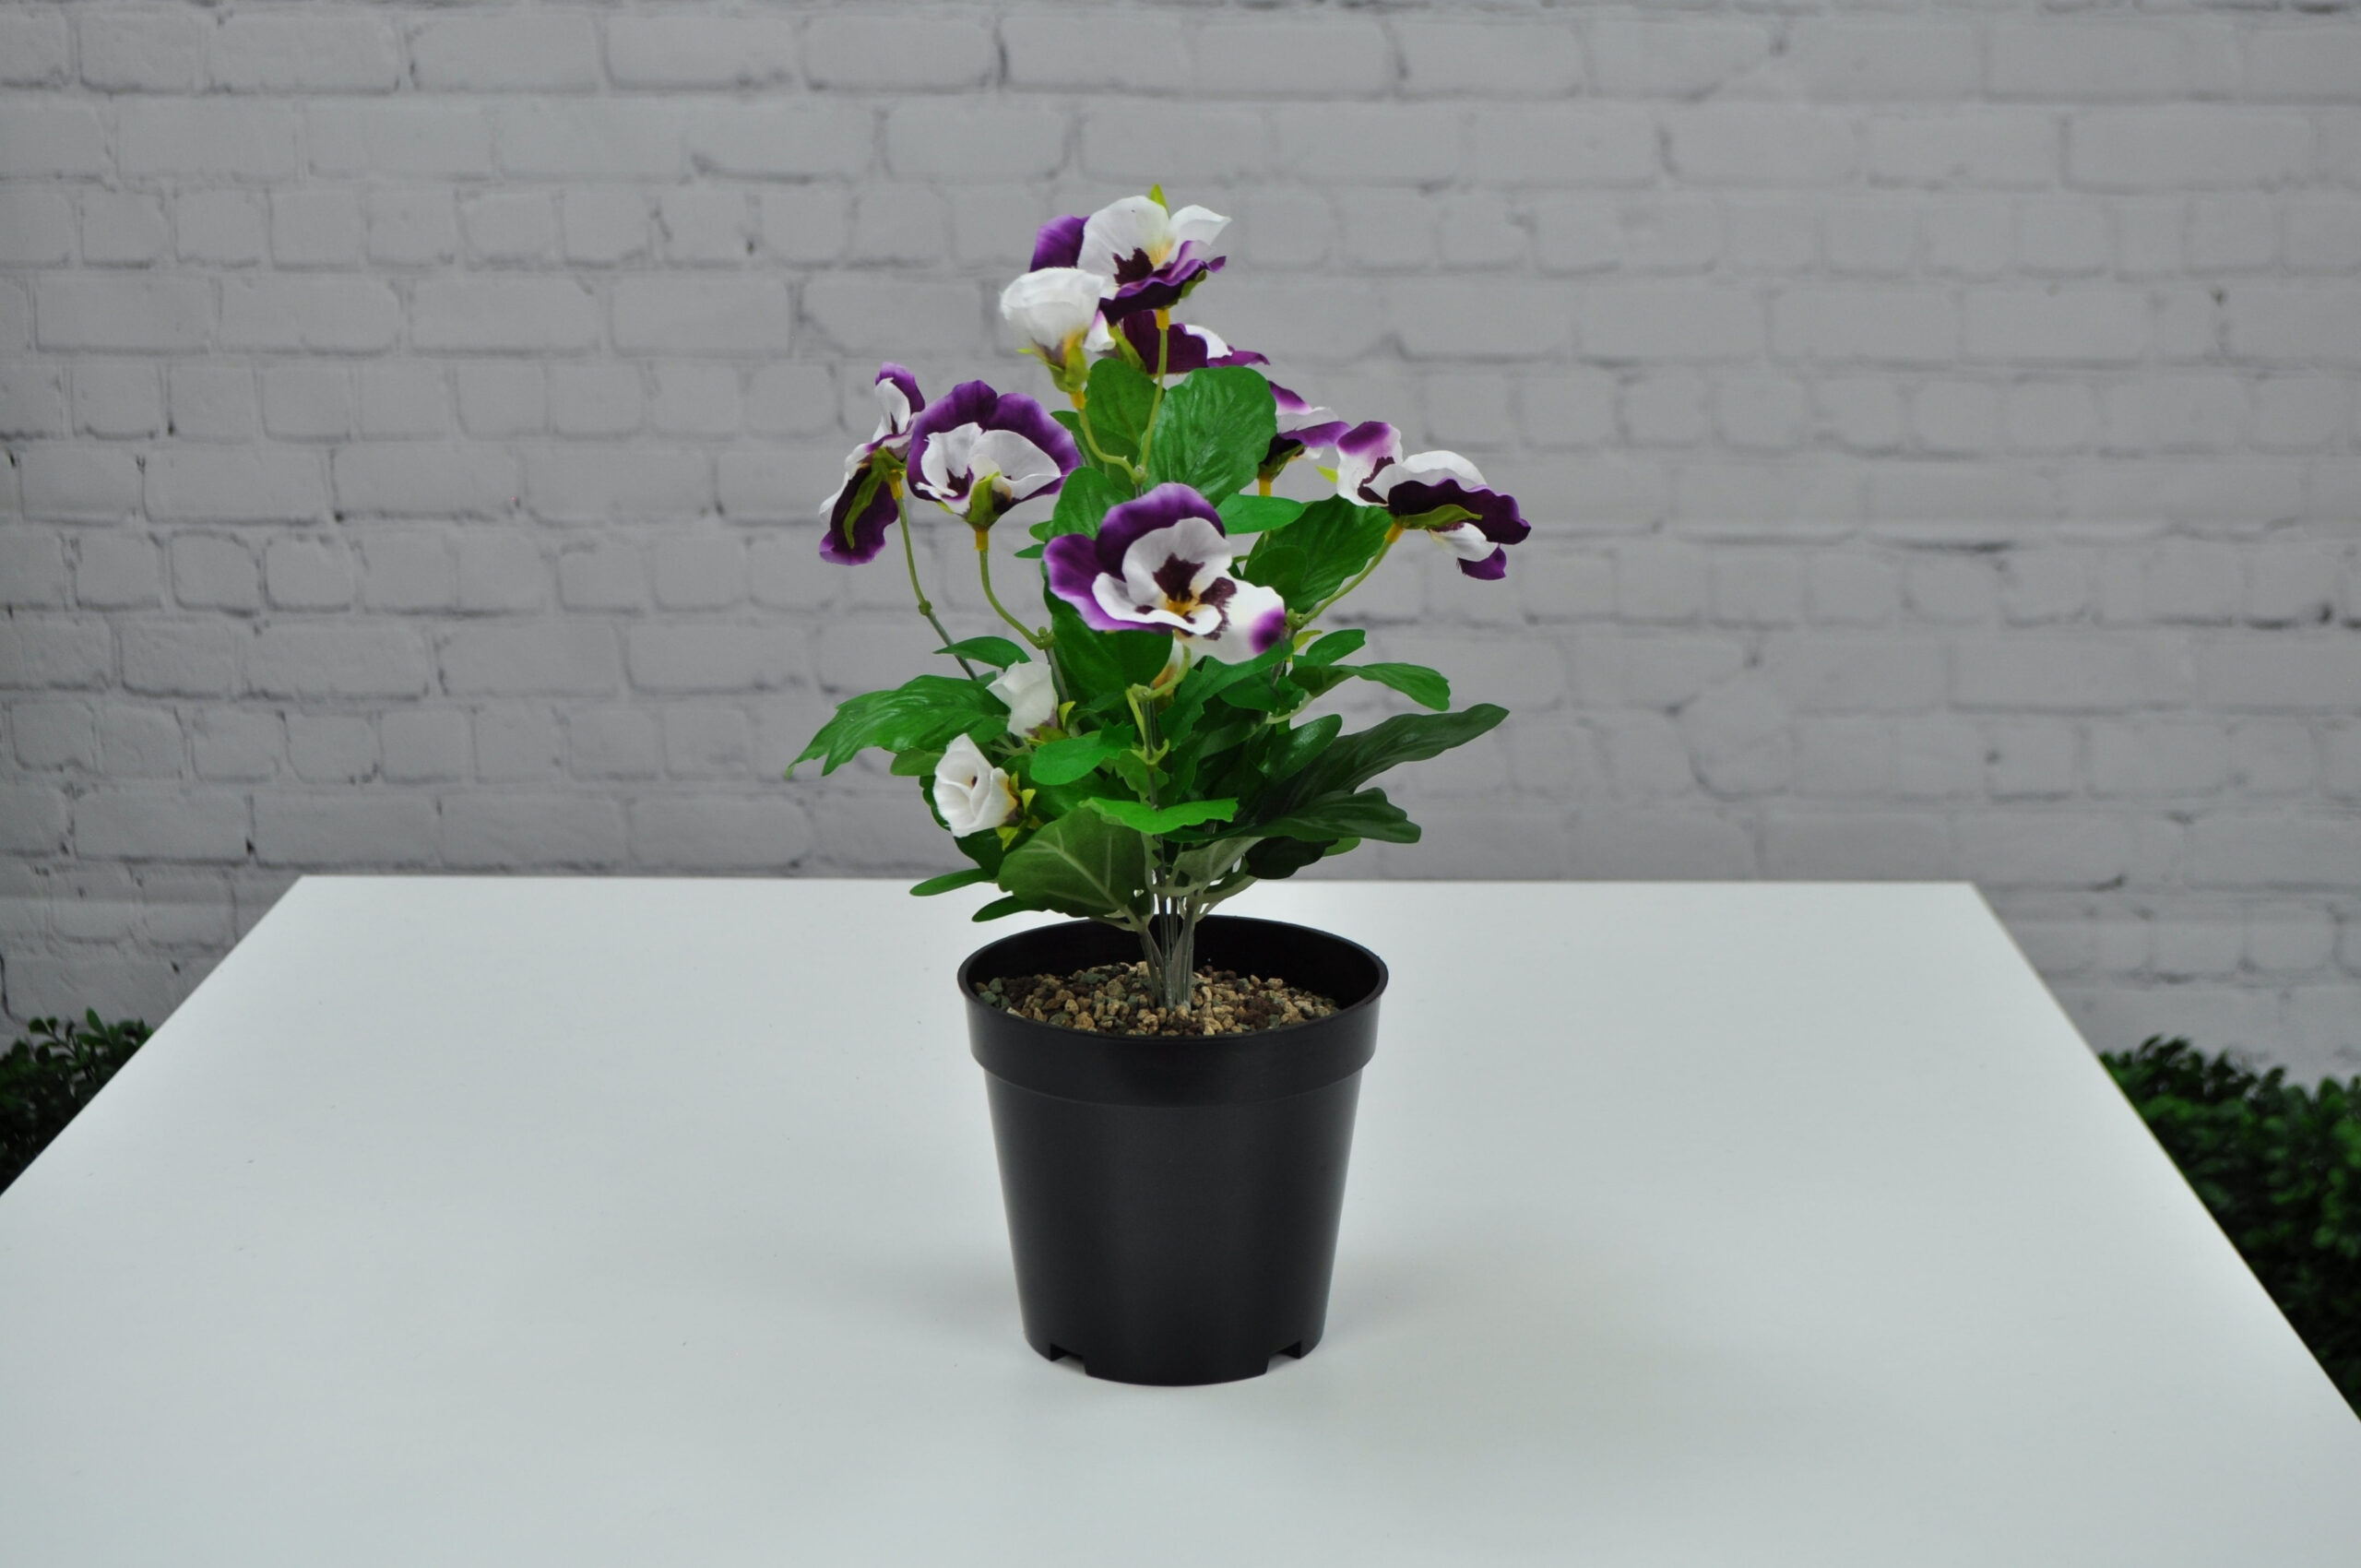
Dress out your plant
Place into a decorative pot

Be the first to see our new arrivals & the latest offers
We are passionate about all things greenery! With bespoke artificial solutions and a focus on design and customer service there is a reason we’re the UKs number one
Evergreen Trees & Shrubs Registered office Evergreen House, Outgang Lane, Pickering, YO18 7JA, United Kingdom, Registered in GB
Company Registration Number 04529657 VAT no. 804718043